Volume Settings
As I chose the custom-install option, I need to choose a RAID level. The right RAID level is a crucial decision. When it comes to data backup, the RAID level will determine the level of redundancy and protection against failure.
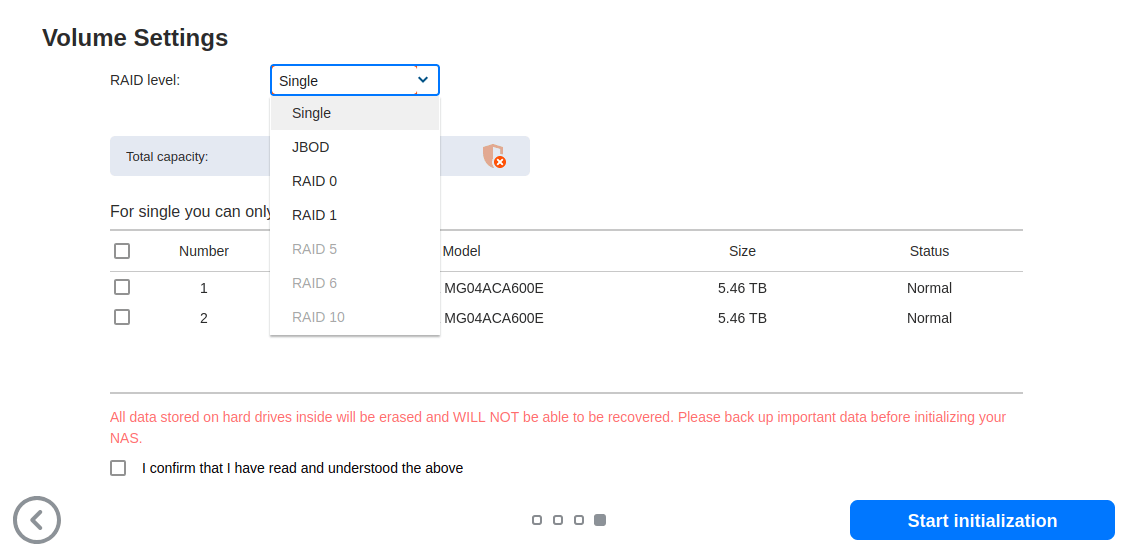
Single – composed of one drive as an independent unit. There’s no data redundancy.
JBOD – “Just a bunch of disks” is a collection of disks combined as one logical volume. Data is written to a JBOD configuration in a sequential way, avoiding the more complex steps involved in writing data seen in RAID systems. There’s no redundancy or data protection. It offers slower read and write speeds than RAID 0.
RAID 0 – data is evenly across two or more disks, without parity information, redundancy, or fault tolerance. The advantage to RAID 0 is that, because multiple disks are used, the file can be written and read faster than with a single disk. However, a failure of any drive causes the entire array to fail, and will result in total data loss. RAID 0 is mainly used in applications that require high performance and can tolerate lower reliability, such as video editing and computer gaming.
RAID 1 – writes identical data to all the drives simultaneously. It creates a mirror or exact copy that offers protection against a single disk failure. RAID 1 is good for speed and has comparable performance to a single drive. Data simply needs to be copied to the replacement drive if a drive failure occurs. However, RAID 1 has a storage capacity of only half as data is written twice.
RAID 5 – data is split into groups across all available drives, and distributed parity is created to allow the data on the other drives to reconstitute what was lost on a failed drive. RAID 5 needs a minimum of three drives. It provides data redundancy more efficiently than RAID 1.
RAID 6 – implements two layers of data parity to store redundant data equal to the size of two drives, providing a greater degree of data redundancy than RAID 5. However, RAID 6 write speeds are slower than write speeds on a RAID 5 configuration.
RAID 10 – uses both mirroring and striping. It provides the performance of RAID 0 and data protection level of RAID 1, combining drives into groups of two in which data is mirrored. Due to the allocation of half of the storage capacity for mirroring, RAID 10 has a high overhead.
Regardless of the number of hard disks and the RAID mode used data loss can still occur. Whatever RAID level chosen, regular backups should never be neglected. And make sure you actually test your backups!
With only 2 of the 4 disk bays populated with SATA disks, some RAID levels are not available.
I’ve chosen JBOD simply because the SATA disks are going to be used for secondary storage, as part of my planned reviews of open source backup software. JBOD supports hot-swappable drive days, offers quick read and write speeds, and lets me add additional storage quickly. You should probably not follow my example of choosing JBOD.
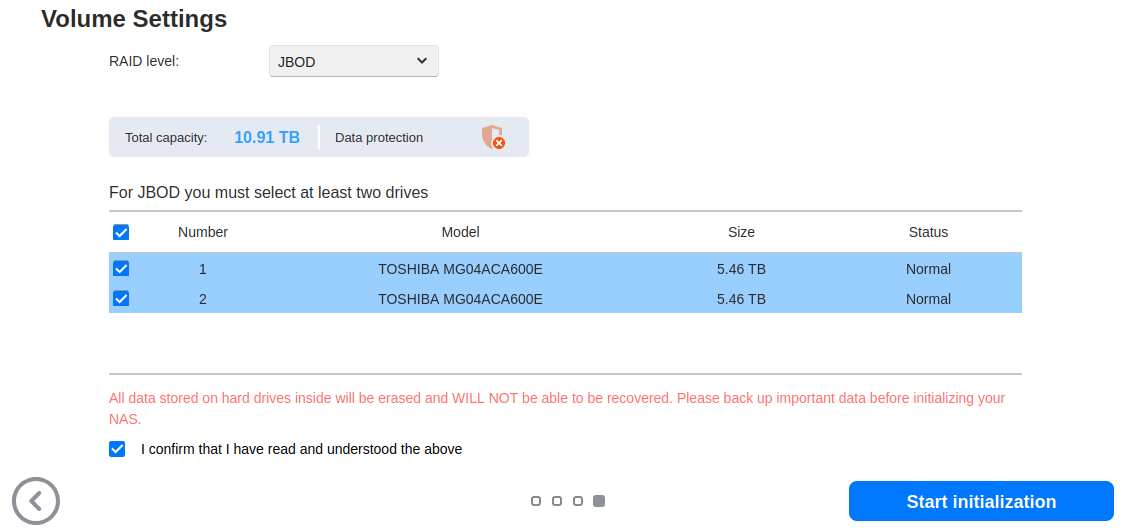
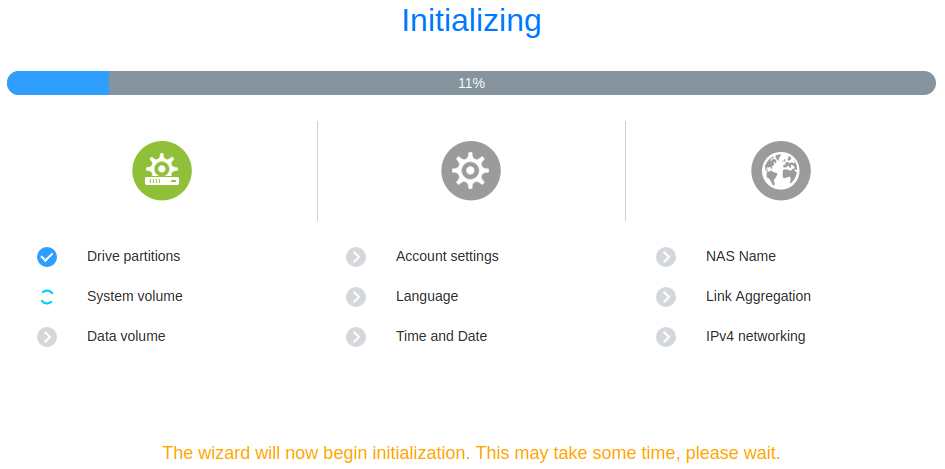
Once selecting the drives, click the start intialization button. The drive partitions and volumes are then set up.
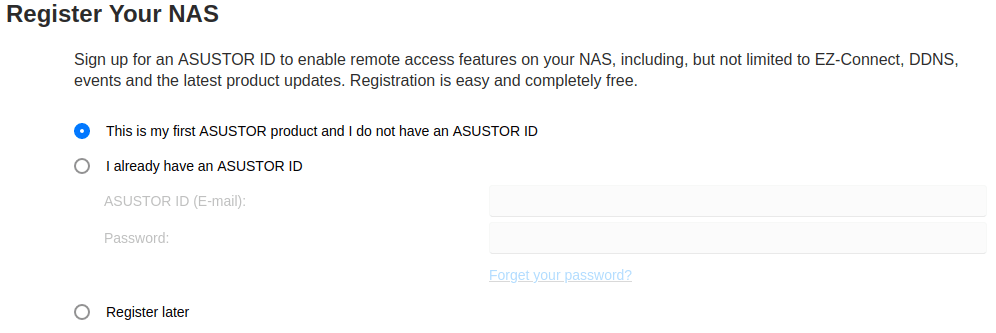
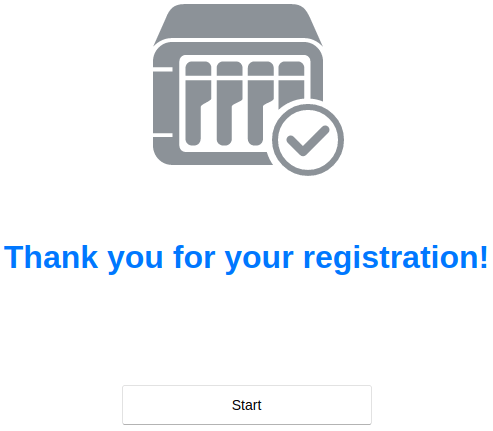
The final step is to register the NAS.
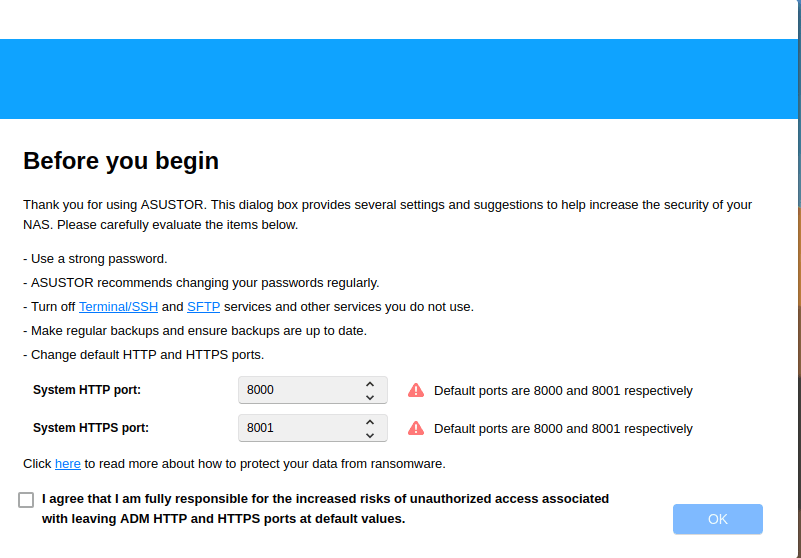
It’s worth digesting the final dialog box which gives good advice. I wouldn’t change the default HTTP and HTTPS ports even if you are going to use remote access. This is because any script kiddie will easily find open ports; changing them from the default ports won’t make any difference to security.
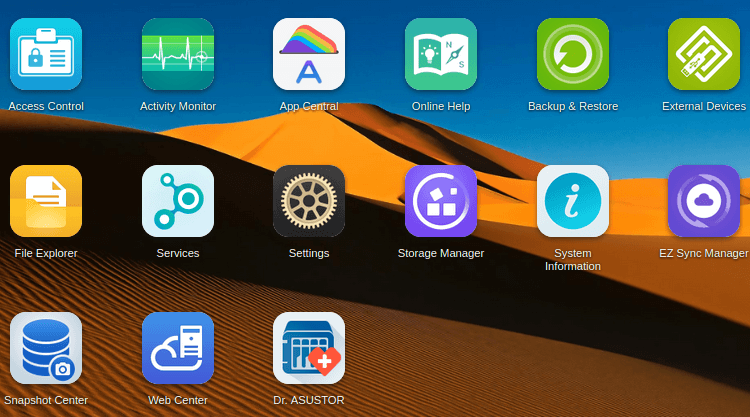
The next article in this series will review ADM 4.2.
Pages in this article:
Page 1 – Updating ADM
Page 2 – System Initialization: Basic Settings, Date & Time, Network
Page 3 – System Initialization: Volume Settings
All articles in this series:
| ASUSTOR Data Master (ADM) | |
|---|---|
| Part 1 | Getting Started with ADM |
| Part 2 | Detailed review of ADM v4.2.5 |
| Part 3 | AiMaster is a NAS management app for mobile devices |
| Part 4 | Extend the functionality of your NAS with software from App Central |
Wonderful web site. Lots of useful info here. I’m sending it to a few friends ans additionally sharing in delicious. And obviously, thanks to your effort!