
Installation
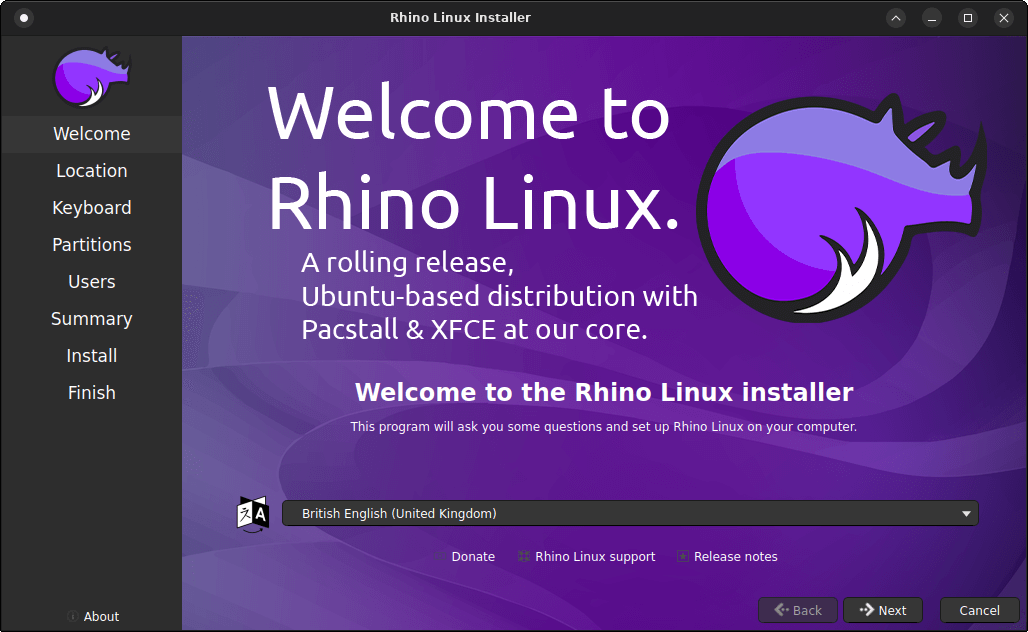
Rhino Linux uses the wonderful Calamares system installer which makes for a very easy installation. Rhino have added their unique colour branding which is actually rather snazzy.
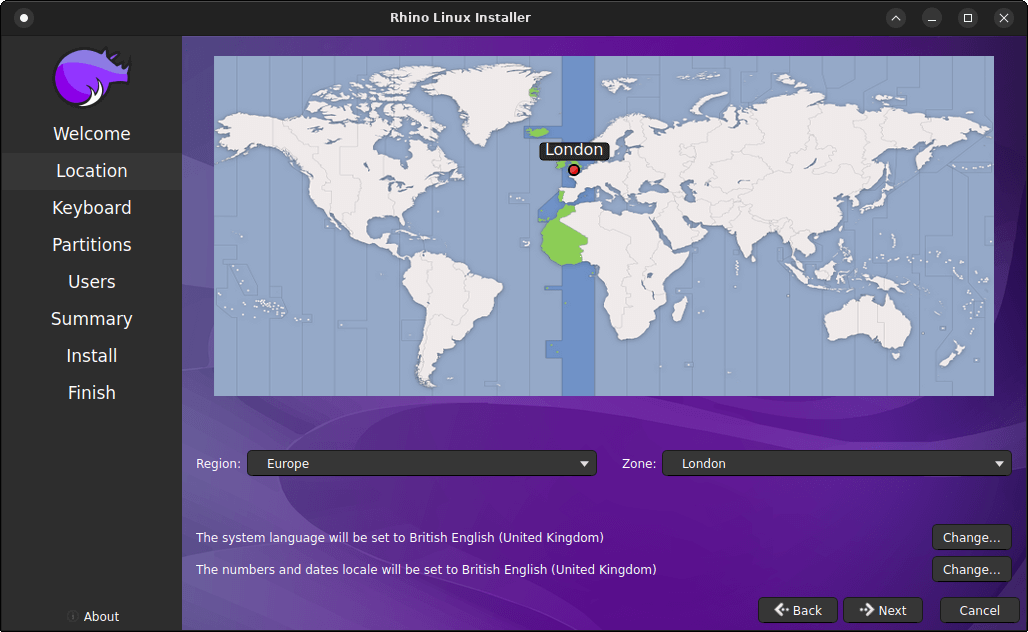
We start with choosing our location. Not a tricky choice.
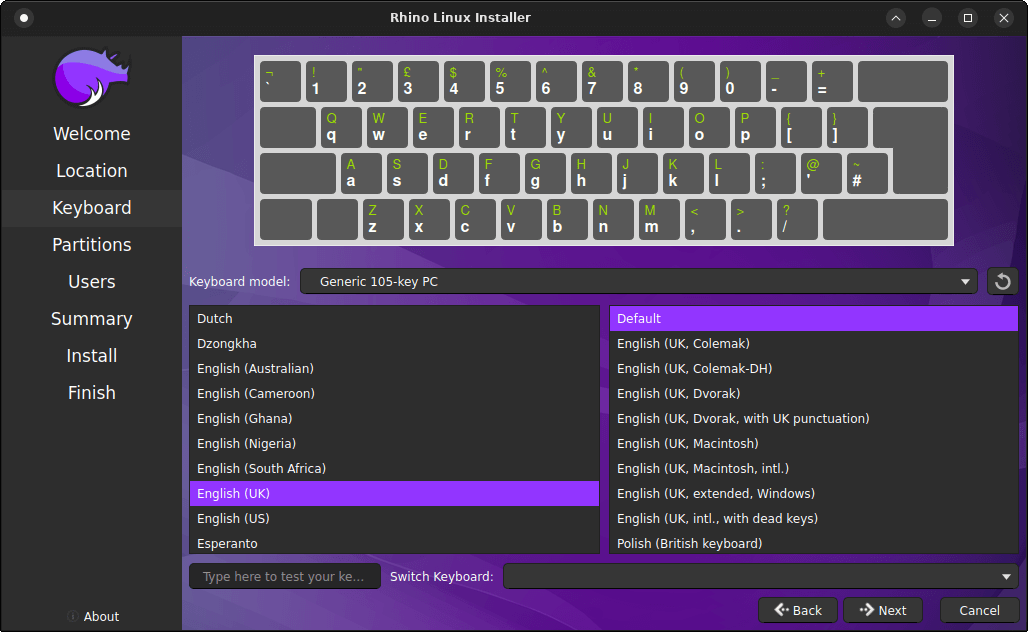
Next up is keyboard selection. Given that we chose the London zone, we’re automatically given English (UK). The default keyboard is fine, so no changes needed here for us.
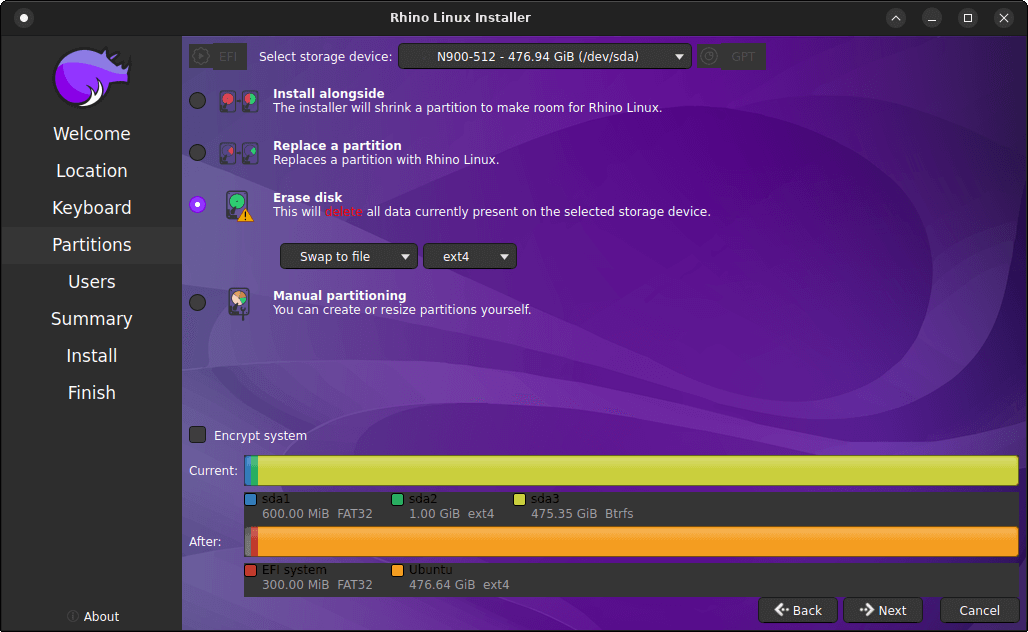
Partitioning is always a step that can be difficult for beginners. But the Calamares installer makes the process fairly simple.
This is the first section that needs a bit of thought depending on whether you want to install Rhino Linux alongside an existing installation, erase the disk, or engage in some manual partitioning. The FIREBAT doesn’t have the largest SSD, so we just chose to erase the disk and give Rhino Linux the entire disk space.
Some distributions (e.g. EndeavourOS) offer the hibernation option. That’s not the case with Rhino Linux. Under Erase disk we’re only offered the option to set up swap to file. Setting up hibernation is non-trivial post-installation step for beginners, so it’s a shame this isn’t offered as part of the installation routine.
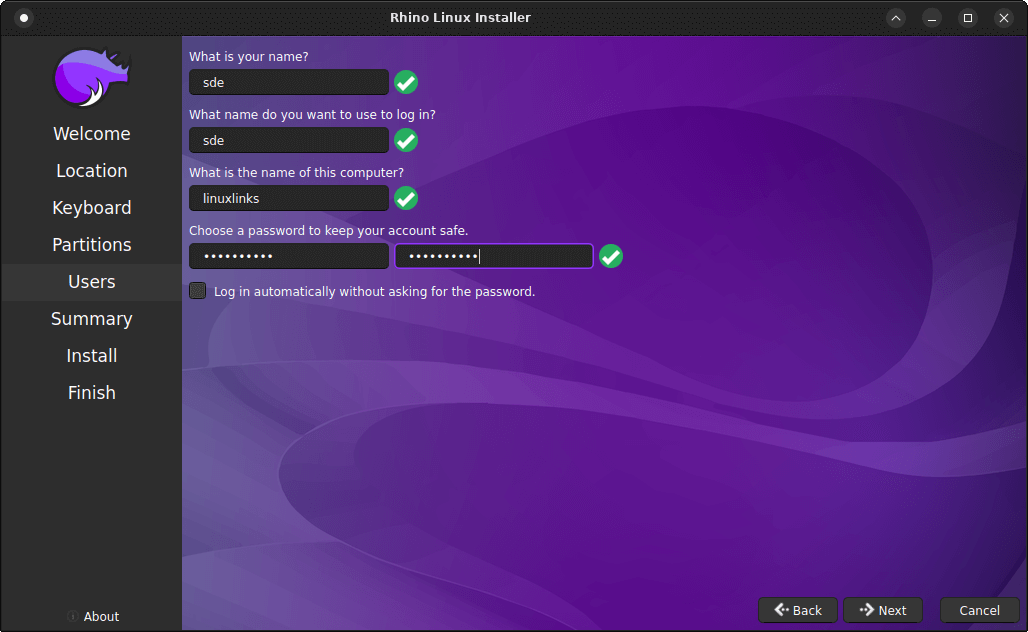
Create a user, name the computer, and set a password.
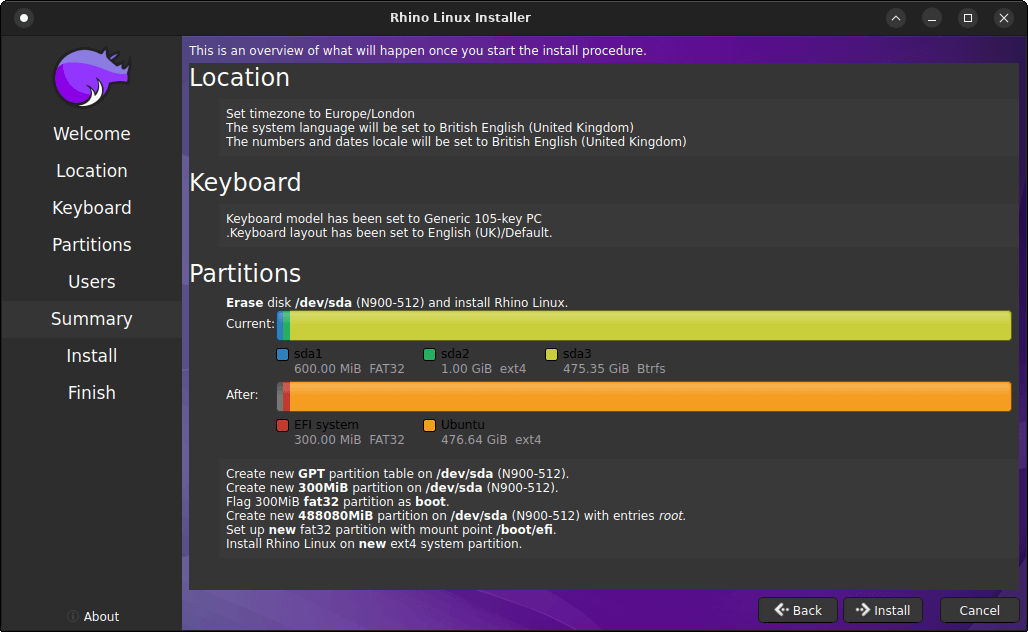
It’s worth reading the Summary section to make sure everything is how you want it. All is in order, so we’re ready to click the Install button.
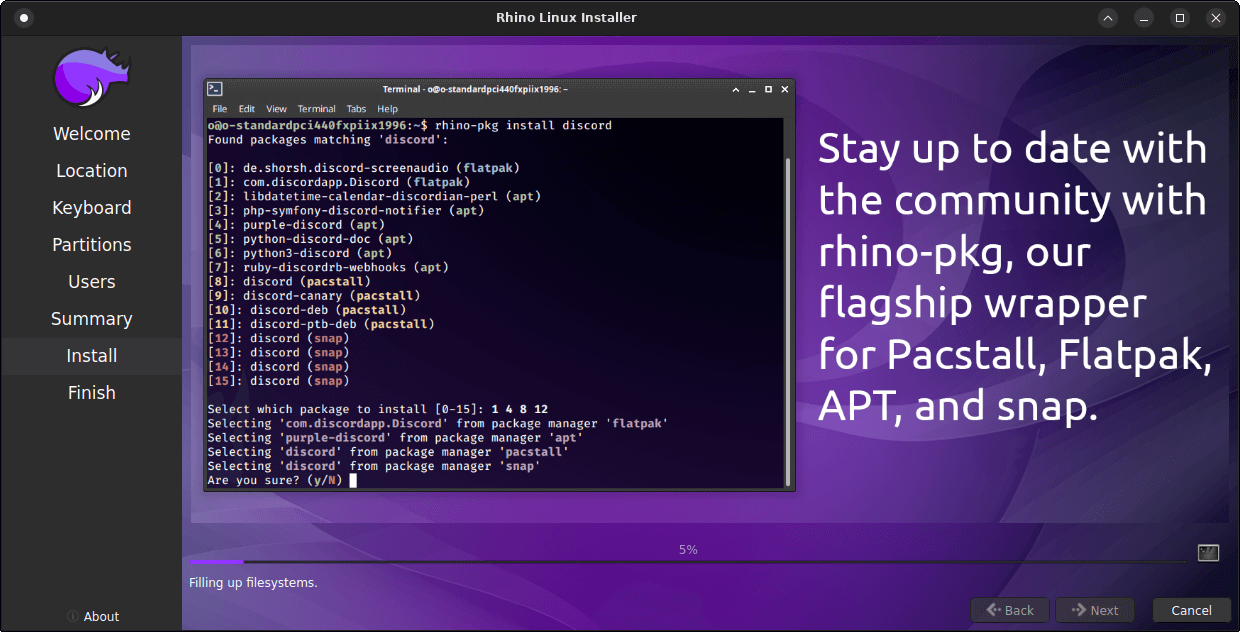
The next image shows the installation in progress.
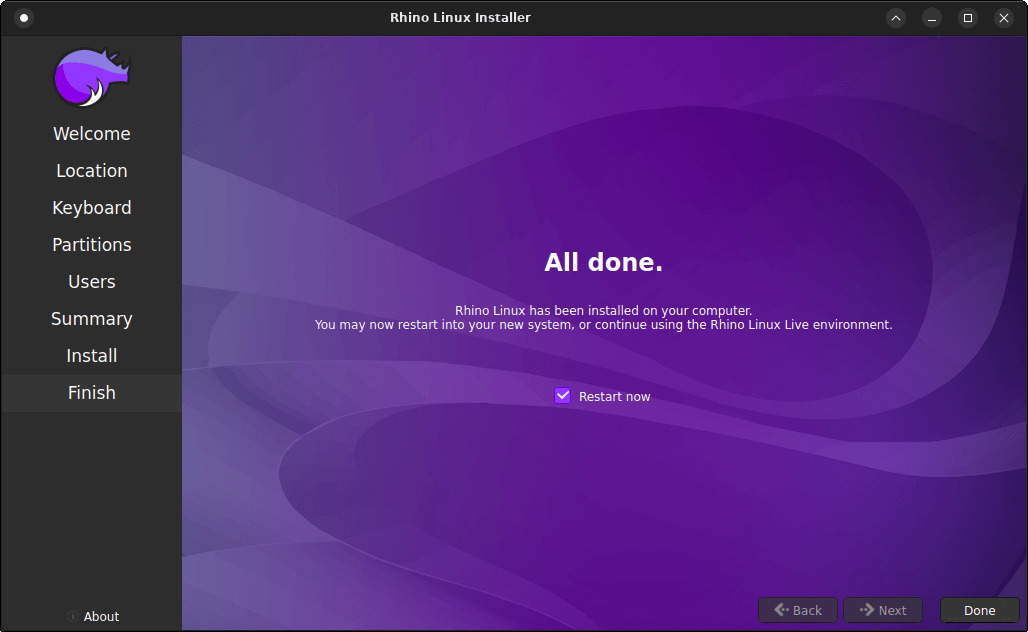
All’s done. We’re now ready to restart the system.
Read on for post installation.
Next page: Page 3 – Post Installation
Pages in this article:
Page 1 – Introduction
Page 2 – Installation
Page 3 – Post Installation
Page 4 – Video
Complete list of articles in this series:
| FIREBAT T8 Plus Mini PC | |
|---|---|
| Part 1 | Introduction to the series with an interrogation of the system |
| Part 2 | Benchmarking the FIREBAT T8 Plus Mini PC |
| Part 3 | Testing the power consumption |
| Part 4 | Multimedia: Watching videos and listening to music |
| Part 5 | How does the FIREBAT fare as a gaming PC? |
| Part 6 | Windows Subsystem for Linux 2 |
| Part 7 | Installing and Configuring EndeavourOS, an Arch-based distro |
| Part 8 | Installing and Configuring Rhino Linux, a rolling release Ubuntu-based distro |
| Part 9 | VirtualBox performance on the FIREBAT |