There are some great tools that make Docker easier to use.
One of our favourites is Portainer. It’s a lightweight and easy to use management UI that lets us easily manage our different Docker environments. Its simple graphical interface is accessed with a web browser. The community edition is free and open source software. Portainer works with Docker, Docker Swarm and Kubernetes. It can be deployed in the cloud on prem or at the edge.
Portainer supports a wide range of features for managing the Docker containers, such as managing the creation and deletion of Swarm services, user authentication, authorizations, connecting, executing commands in the console of running containers, and viewing containers’ logs.
Portainer consists of a single container that can run on any cluster.
Install Portainer CE
Portainer consists of two elements, the Portainer Server, and the Portainer Agent. Both elements run as lightweight Docker containers on a Docker engine. Let’s go through the simple steps to install the server.
Make sure you are running the latest version of Docker and have sudo access to the machine that’s hosting the Portainer Server instance (or have performed the steps detailed here).
1. Create the volume that Portainer Server uses to store its database
$ docker volume create portainer_data
2. Download and install the Portainer Server container
Issue the following command:
$ docker run -d -p 8000:8000 -p 9443:9443 --name portainer --restart=always -v /var/run/docker.sock:/var/run/docker.sock -v portainer_data:/data portainer/portainer-ce:latest
Here’s a short video showing what happens when you issue the command. There’s a slight delay after the command shows.
Portainer generates and uses a self-signed SSL certificate to secure port 9443.
3. Check that the Portainer Server container is running
$ docker ps
sde@ganges:~$ docker ps
CONTAINER ID   IMAGE                           COMMAND        CREATED         STATUS         PORTS                                                                                            NAMES
c48c8f295688   portainer/portainer-ce:latest   "/portainer"   2 minutes ago   Up 2 minutes   0.0.0.0:8000->8000/tcp, :::8000->8000/tcp, 0.0.0.0:9443->9443/tcp, :::9443->9443/tcp, 9000/tcp   portainer
The output confirms the container is running.
4. Create an admin user
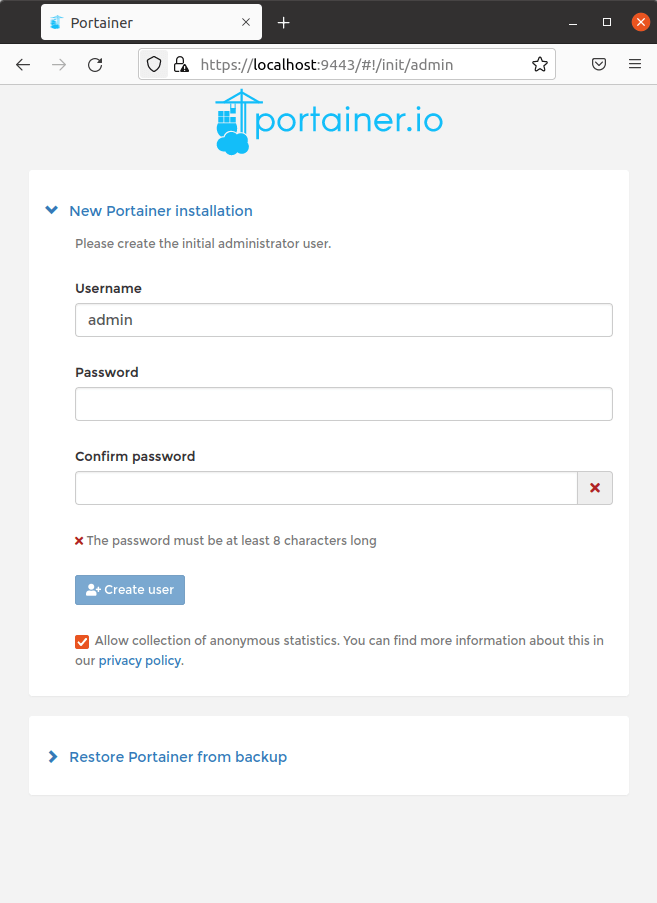
Point your web browser to the address https://localhost:9443 and you are prompted to create the initial administrator user. Here’s what you’ll see.

Complete the fields and click the Create user button.
Next page: Page 2 – Managing Docker with Portainer
Pages in this article:
Page 1 – Introduction
Page 2 – Managing Docker with Portainer
All articles in this series:
| Getting Started with Docker | |
|---|---|
| Installing Docker Engine | Let's start with the basics. We install Docker Engine on Ubuntu |
| Run Docker without sudo | Run Docker without the security privileges of root |
| Commands | A brief overview of the 40 Docker commands |
| Images | A Docker image is a file used to execute code in a Docker container |
| Portainer CE | Install this interface to manage different Docker environments |
| Dry | Interactive CLI for Docker containers |

Docker containers offer a way to get a real grip on software. I use them to wrap up applications, for isolation, control and portability.
Docker and docker-compose is great, it let you pack so much in to tiny server, like a Pi and get so much performance out of it.