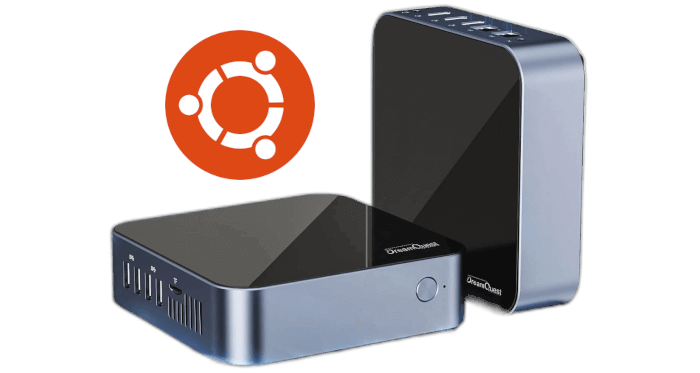
Step 4: Install Ubuntu to the DreamQuest SSD
You’ll see an Ubuntu splash screen. Once the machine has booted, the installer program will start. We walk you through each step of the installer below.
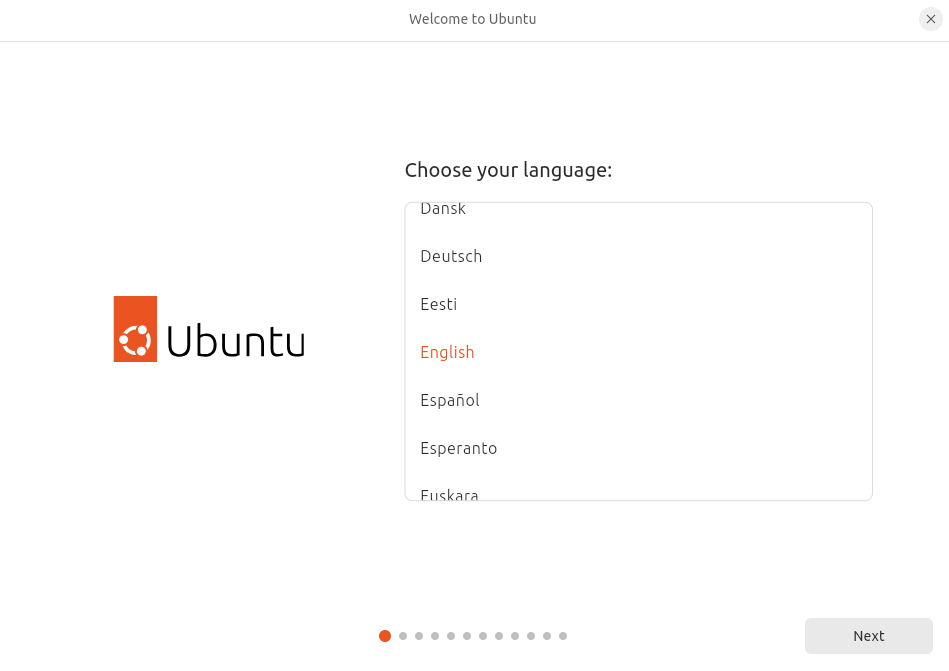
a) Language
Choose your language and click Next.
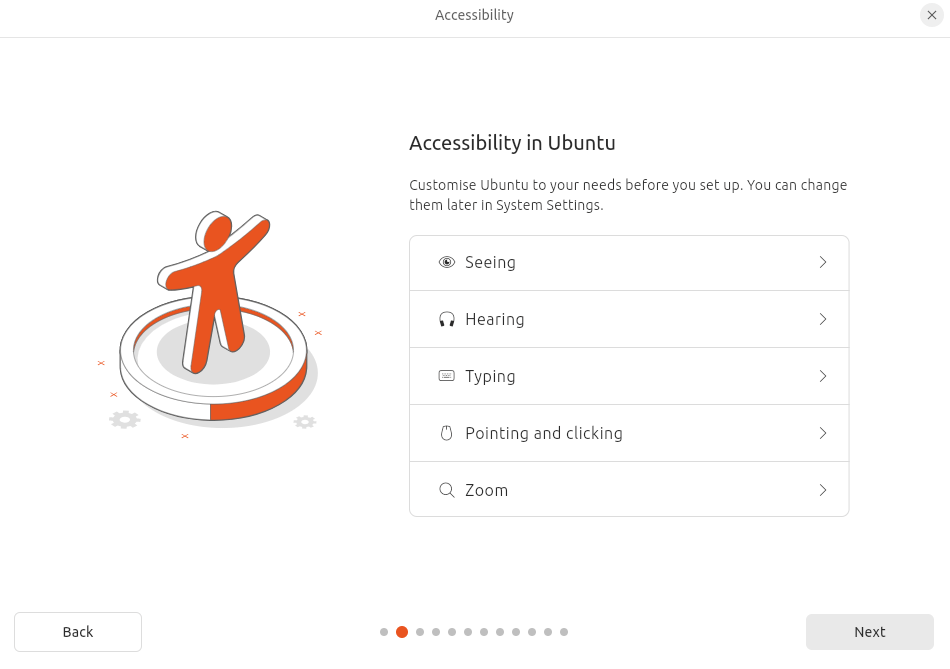
b) Accessibility
Here’s an option to select any accessibility settings you need. Press Next to proceed.
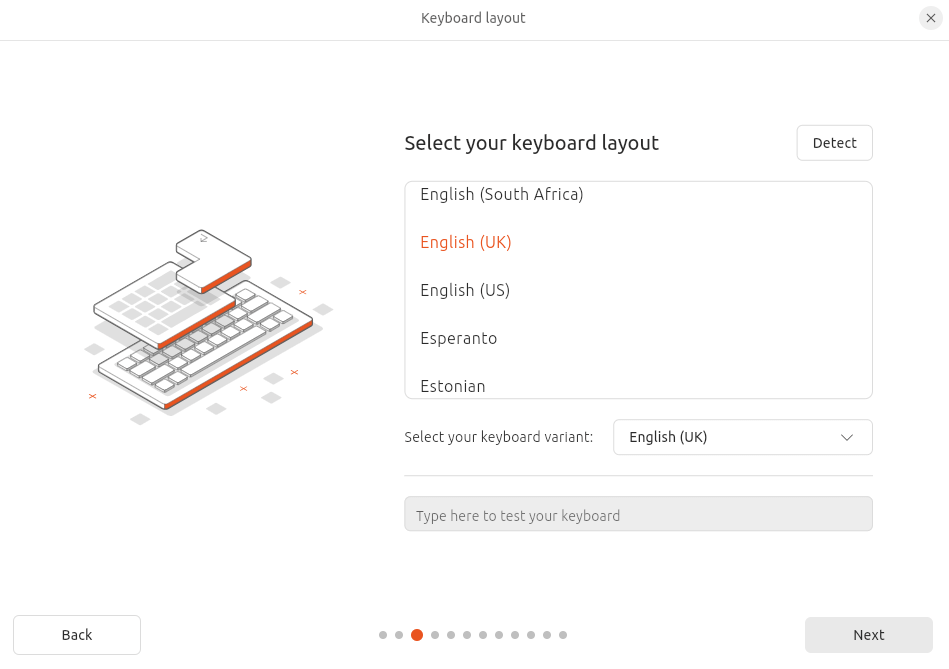
c) Keyboard layout
Choose your keyboard layout and press Next.
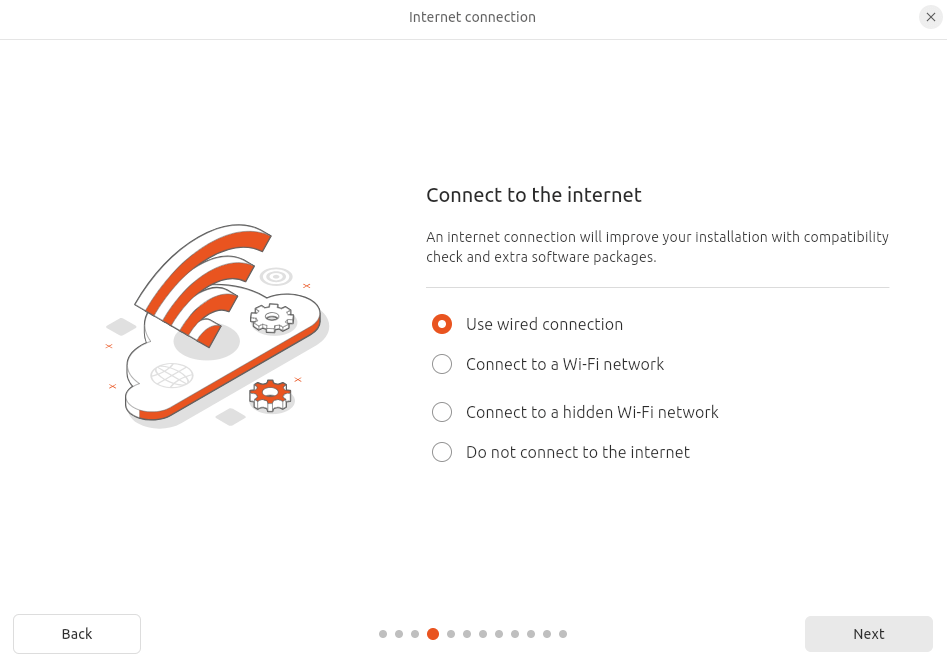
d) Connect to the internet
This allows Ubuntu to download updates and third party drivers during installation.
We’ll choose to use a wired connection, but there’s also the option to connect to a Wi-Fi network with the DreamQuest’s built-in Wi-Fi.
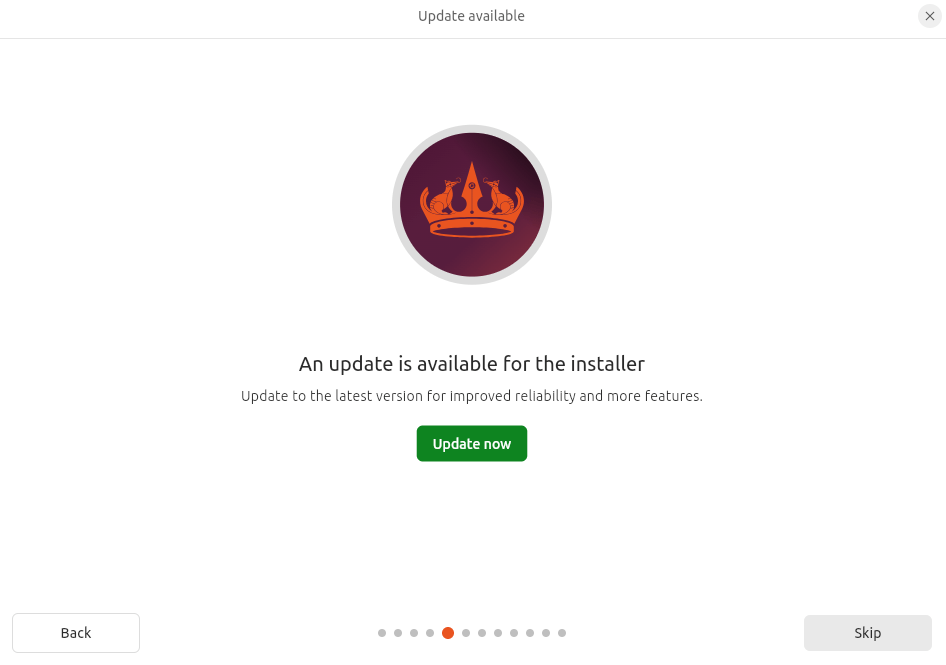
e) Update available
We’re prompted to update to the latest installer. But this isn’t an essential step, so we just click Skip.
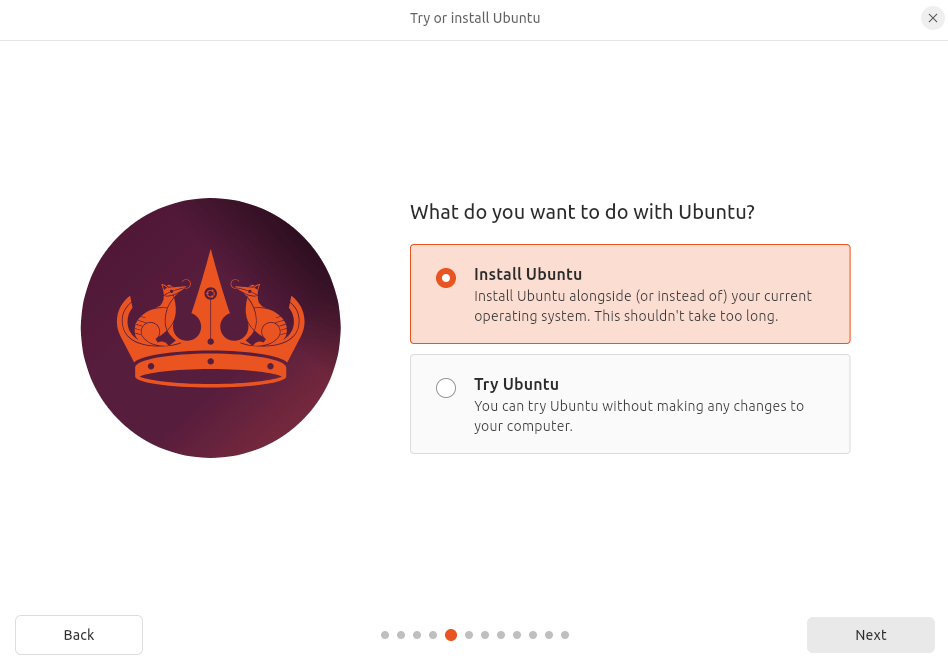
f) Try or install Ubuntu
You can then choose between trying or installing Ubuntu. If you click Try Ubuntu you can preview Ubuntu without making any changes to your PC. But we’ll choose the Install Ubuntu option and click Next.
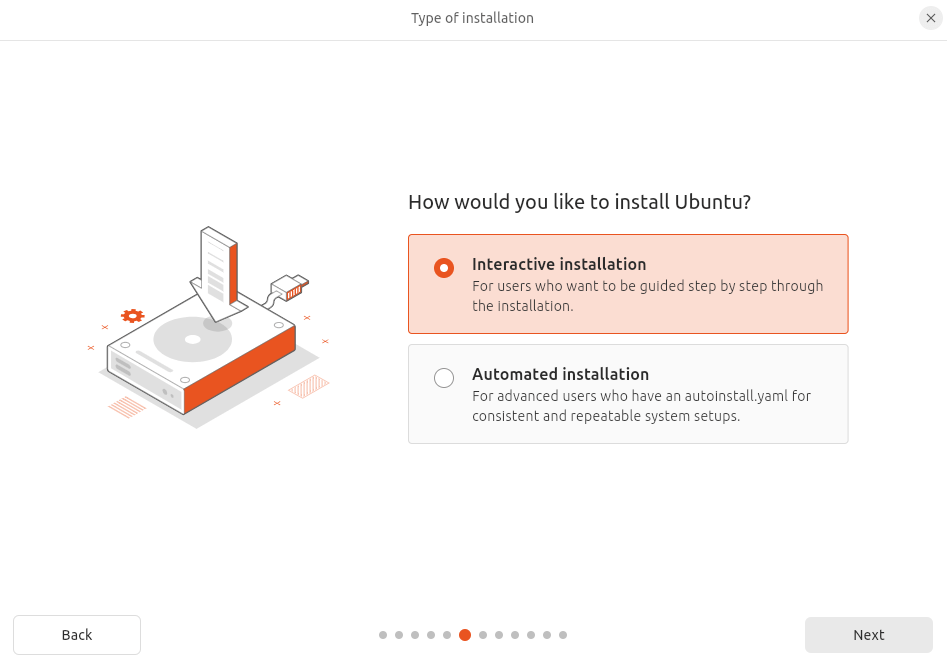
g) Installation type
The interactive option is the recommended route, but advanced users can use the automated installation option to import a configuration file from a web server to standardise multiple installs and add further customisations.
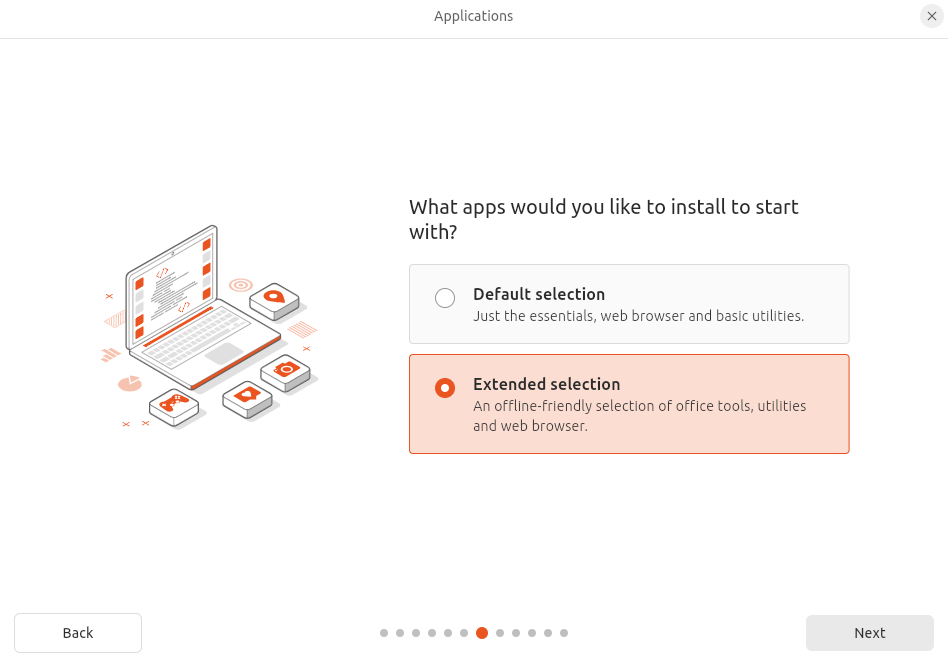
h) Applications
Given the size of the DreamQuest SSD, let’s choose the extended selection of apps.
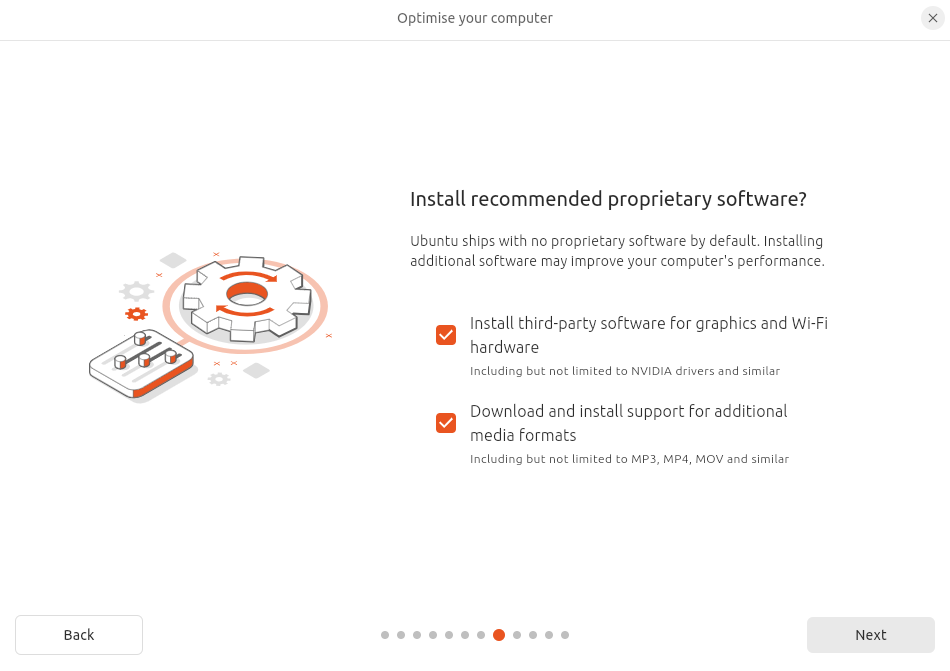
i) Optimise your computer
The DreamQuest mini PCs don’t use NVIDIA hardware. And both the N95 and N100 Mini PC’s Wi-Fi works without additional drivers. But we recommend installing the third-party software and support for additional media codecs.
j) Disk setup
If you want Ubuntu to be the only operating system on your hard drive, select Erase disk and install Ubuntu.
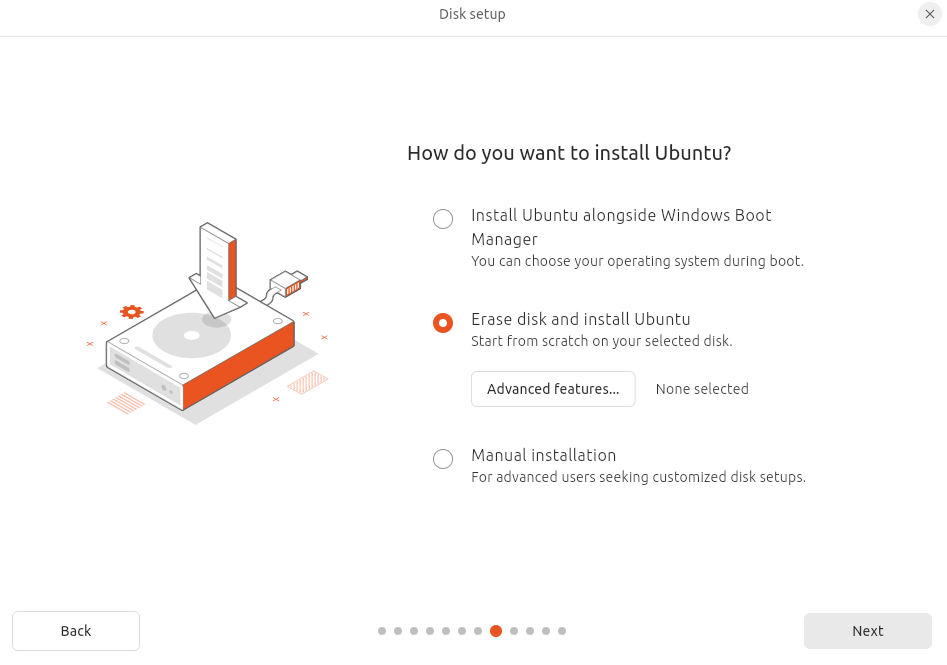
It’s also possible to install Ubuntu alongside the existing Windows 11 Professional. This is known as dual-booting.
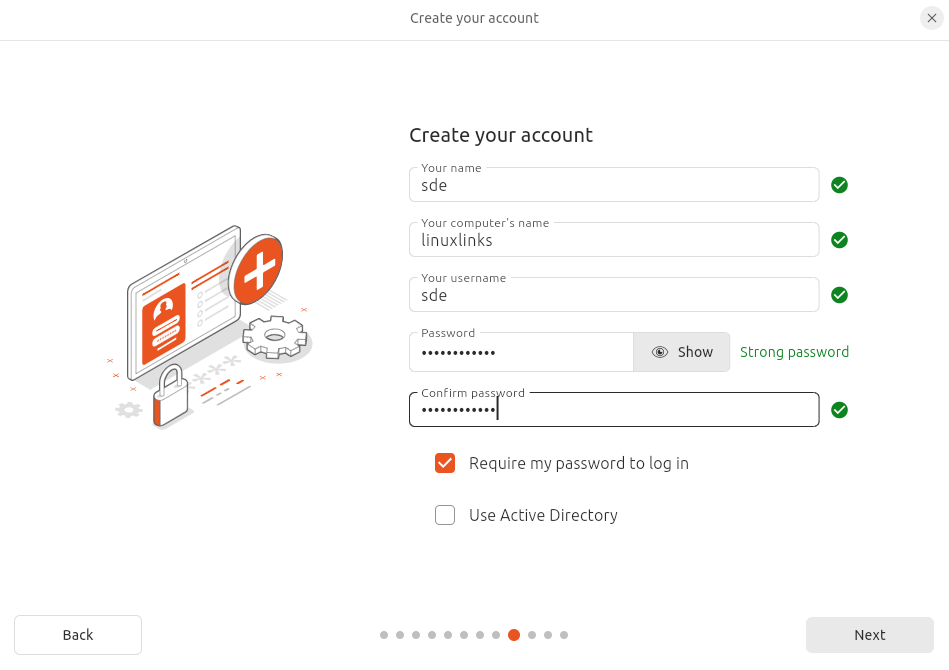
k) Create your account
You need to enter your name and the name of your computer as it’ll appear on the network. You’ll also need to create a username and a strong password.
There’s the option to log in automatically or require a password.
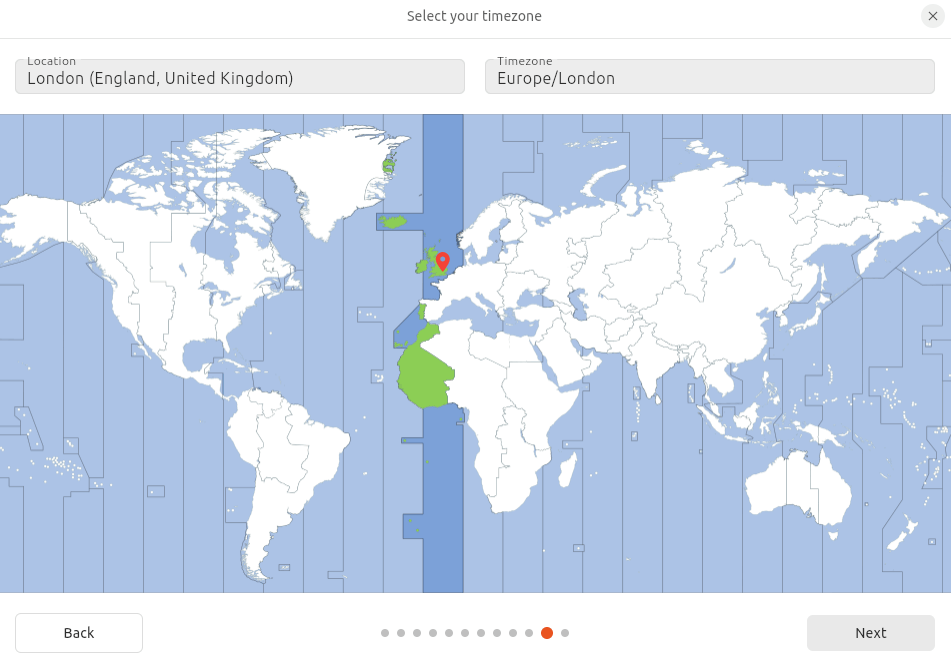
l) Select your timezone
Select your location and timezone from the map screen and click Next.
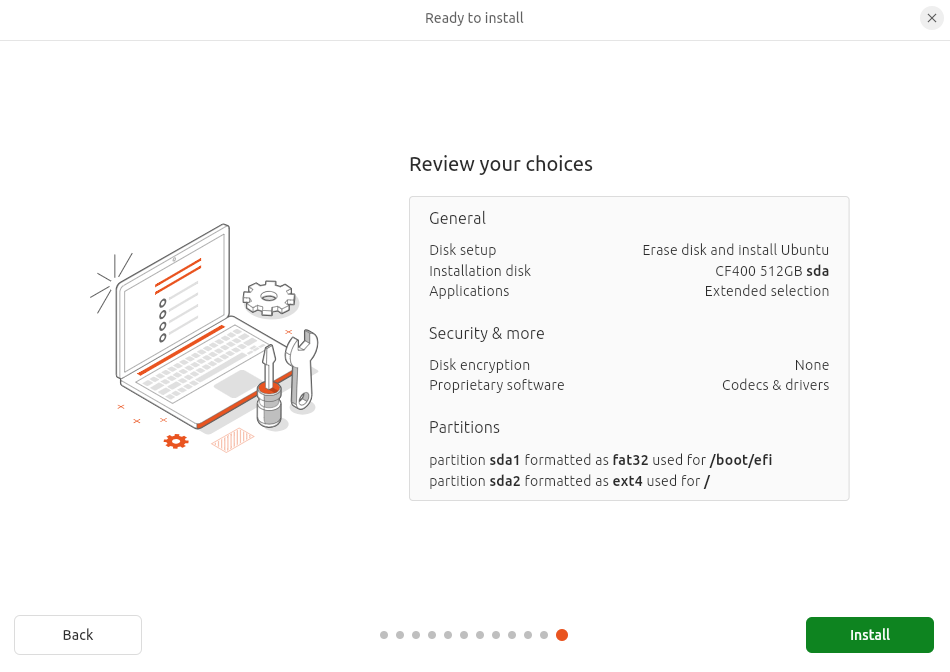
m) Ready to install
If you’re happy with your choices, click the Install button.
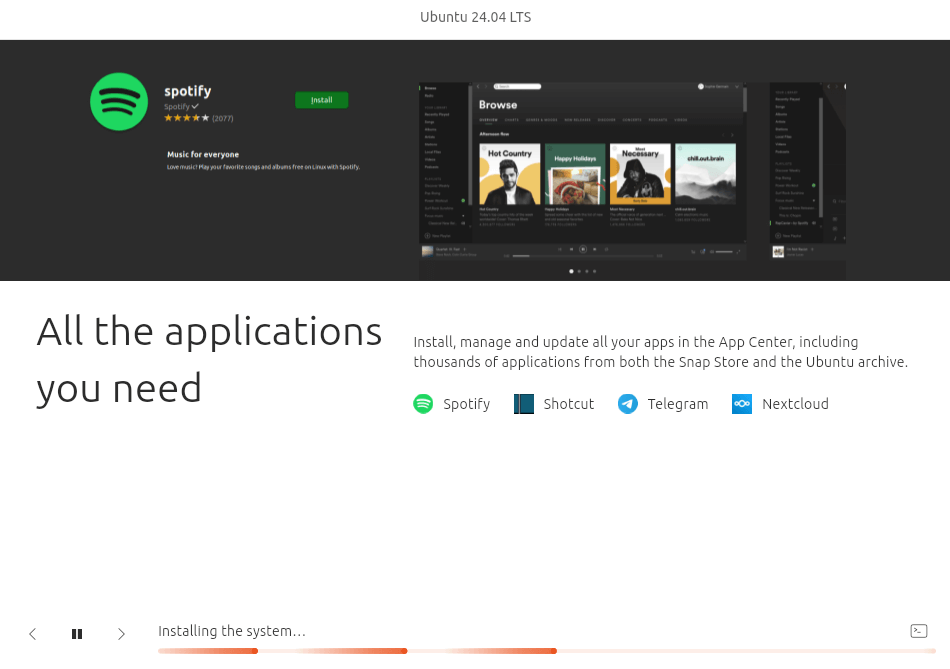
Ubuntu will now be installed on your DreamQuest PC. Sit back and relax.
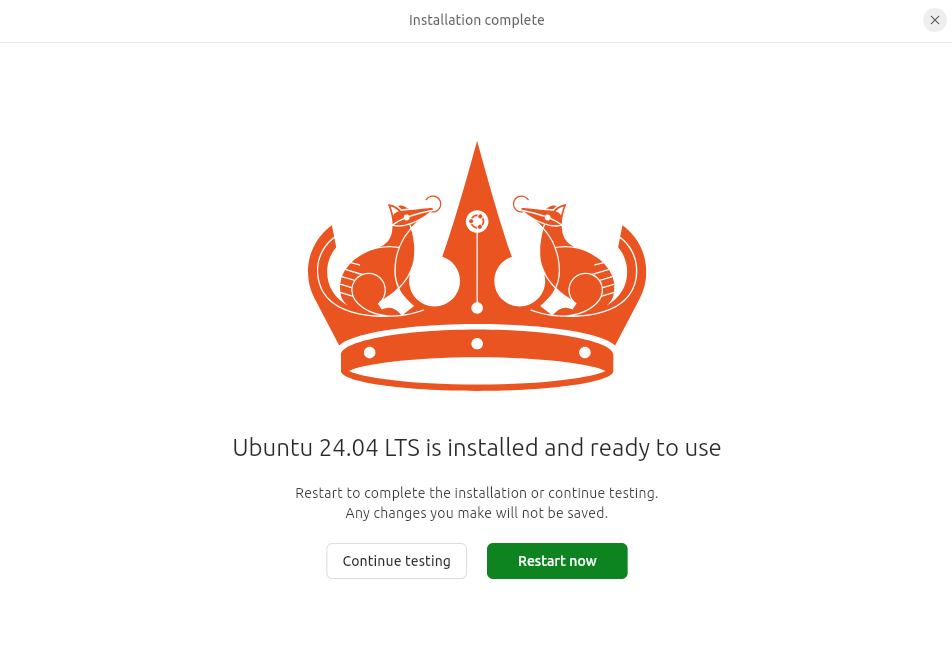
Once Ubuntu is installed and ready to use, you’ll be prompted to continue testing or to restart the system.
Next page: Page 3 – Post-installation Steps
Pages in this article:
Page 1 – Create a Bootable USB stick for Ubuntu Desktop 24.04
Page 2 – Install Ubuntu Desktop 24.04
Page 3 – Post-installation Steps
I’ve heard that many mini-pcs, notably from China, come with built-in malware for Windows. Erasing to Linux would solve that problem. Except now the word is the BIOS can be bugged. How can you determine if the BIOS has been bugged?
Your comment has nothing to do with the article.
The (very remote) possibility of a nefarious BIOS is not anything new. There were isolated incidents in the 1990s and maybe earlier.
“heard” — vague; from whom?
“many” mini-pcs — how many?
Can you install Ubuntu 20.04 on this mini PC?
Yes, Ubuntu 20.04 runs fine on the mini PC.
My DreamQuest Pro mini PC does not have a USB option under “Boot Override”.
It ONLY has:
UEFI OS (P1: KingFast)
Plug in the USB drive before entering the BIOS and an entry will appear.