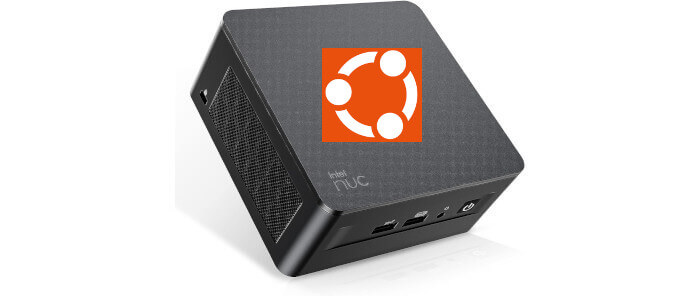
This is a multi-part blog focusing on the Intel NUC 13 Pro Mini PC running Linux. In this series, we examine every aspect of this Mini PC in detail from a Linux perspective. We’ll compare the machine with modern desktop PC counterparts along the way.
This machine is from GEEKOM, a leading and respected brand and manufacturer of Mini PCs. They provide a 3 year warranty on their Mini PCs.
In my previous article, I walked you through the easy steps to install Ubuntu 23.10 Desktop. For this article in the series, I’ll start configuring Ubuntu 23.10. As this distro has been only out for a few days, I’ll be regularly updating/refining this particular article over the coming days and weeks.
Size of installation
Let’s first see how much disk space is available after installing Ubuntu 23.10 Desktop on the NUC.
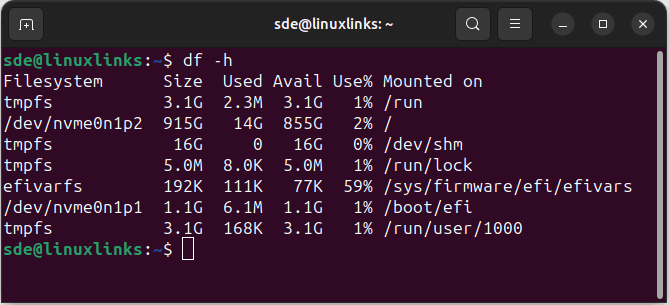
Ubuntu has been installed to the /dev/nvme0n1p2 filesystem. As the image shows, the installation has consumed 14GB of hard disk space. If you recall from my earlier article, I chose the full installation rather than the default installation which just installs the essentials, web browser, and basic utilities. 14GB for a full installation is pretty frugal.
System Update
Even though I installed Ubuntu 23.10 only an hour after its release, there are already updates. But it’s always worth regularly making ensure the system is up to date. To perform a system update, run the commands in a terminal:
$ sudo apt update
$ sudo apt upgrade
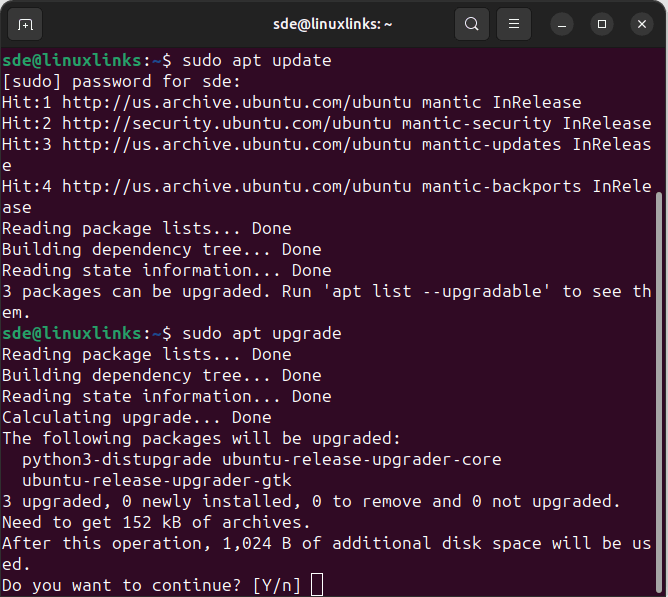
There are only 3 packages that have updates (but you’ll probably see more when you come to update).
Firmware updater
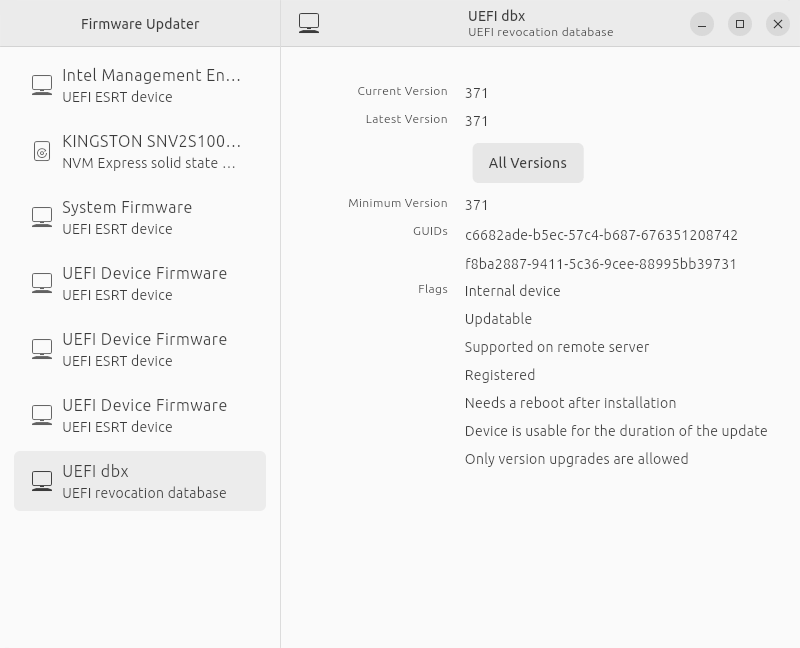
A new application included in Ubuntu 23.10 is a firmware updater. In previous Ubuntu releases Ubuntu Software would check for new firmware updates. But this is now split into a separate application.
Here’s an image of the new application. There’s a firmware update available for the UEFI revocation database.
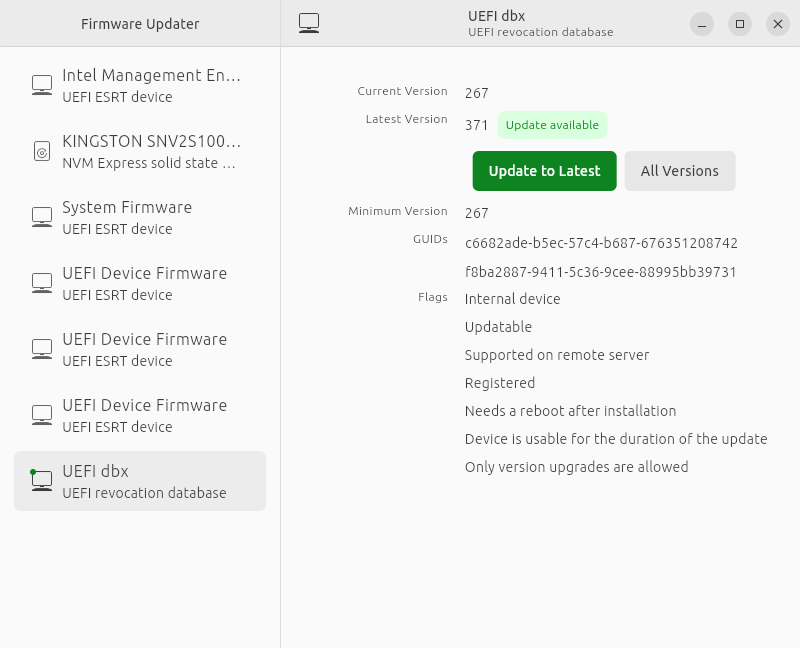
Once updated, a reboot is necessary.
The previous images of the shell were taken in GNOME Terminal. That’s not my preferred terminal emulator. I often gravitate to hyper or Tabby. Both the hyper and Tabby projects provides a .deb package. I downloaded the hyper .deb package from their website, cd’ed into the download directory and installed the package with dpkg, a package manager.
$ sudo dpkg -i hyper_3.4.1_amd64.deb
Kernel
The image below shows hyper. It’s much more visually appealing than GNOME Terminal. The uname -a command confirms we’re running the 6.5 Linux kernel.

The NUC’s hardware (such as Wi-Fi, Bluetooth etc) is already fully supported in earlier versions of the kernel, but the 6.5 kernel adds things like Intel’s “Topology Aware Register and PM Capsule Interface”, support for unaccepted memory, and the option to mount a file system underneath an existing mount on the same mount point which may be of interest if you run containers.
Next page: Page 2 – Installing Software
Pages in this article:
Page 1 – System Update and Firmware
Page 2 – Installing Software
Page 3 – Ubuntu Desktop with GNOME 45
Page 4 – Graphics
Page 5 – Steam and Heroic Games Launcher
Page 6 – Flatpak
Page 7 – Swap File and Summary
Complete list of articles in this series:
| Intel NUC 13 Pro Mini PC | |
|---|---|
| Part 1 | Introduction to the series with interrogation of system |
| Part 2 | Benchmarking the Mini PC |
| Part 3 | Installing Ubuntu 23.10 Desktop |
| Part 4 | Configuring Ubuntu 23.10 Desktop |
| Part 5 | Power Consumption |
| Part 6 | P-Cores and E-Cores |
| Part 7 | Gaming |
| Part 8 | Installing and Configuring Manjaro |
| Part 9 | BIOS options |
