Last Updated on May 22, 2022
Step 6 – Location
This step should be straightforward.
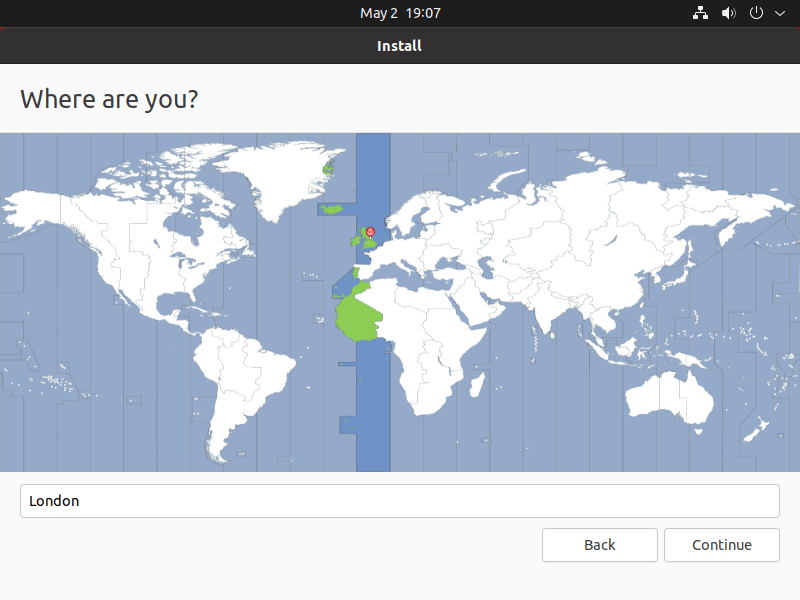
Select where you live to ensure the machine is set to the correct timezone and takes into account things like daylight savings time.
Step 7 – Login details
Here you choose a username, password, and a name for your computer. If you’re not a password fan, there’s an option to automatically log in at startup.
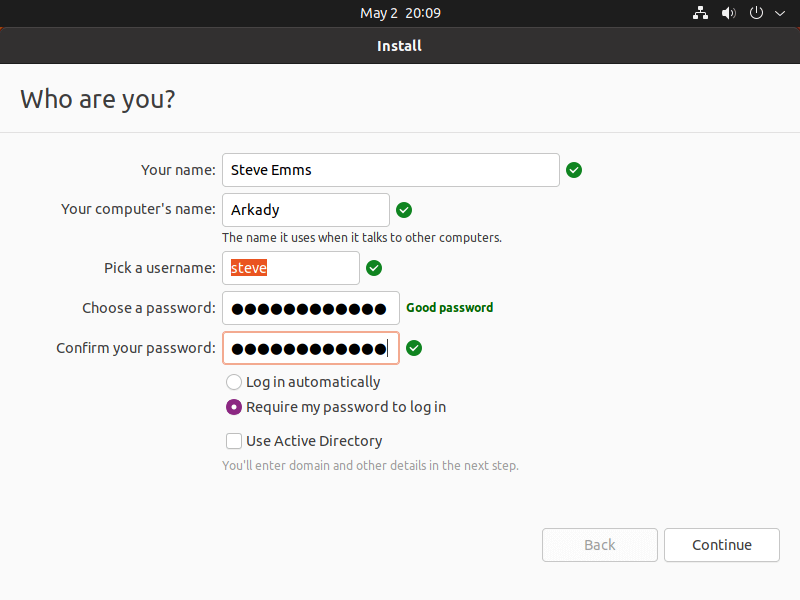
You probably won’t want to opt for Active Directory. Active Directory is a directory service developed by Microsoft for Windows domain networks.
Step 8 – Installing everything
You can watch the progress bar and see what’s happening during the installation process.
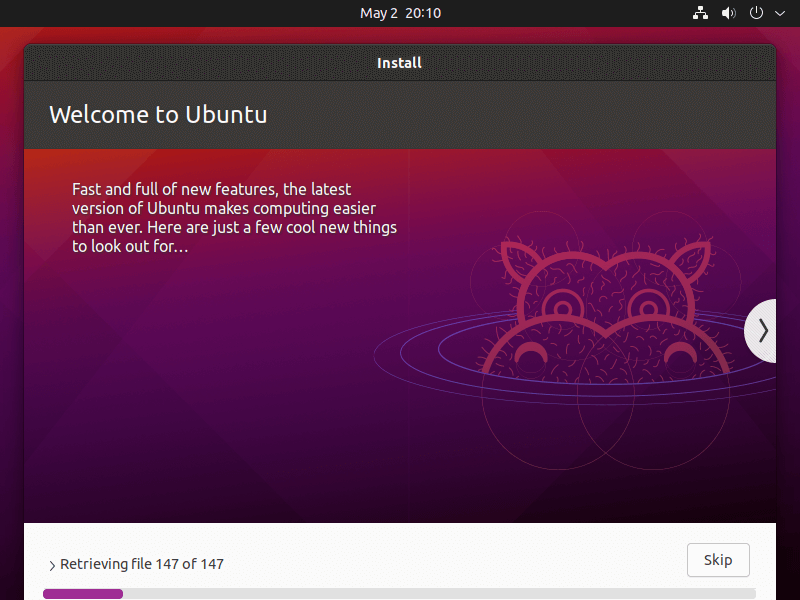
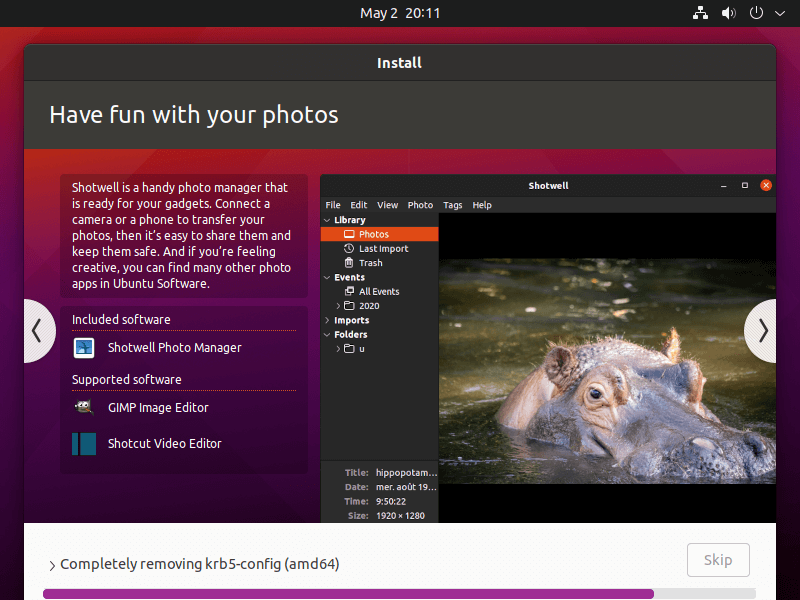
You can navigate between various information screens showing you the types of software being installed. It’s a simple way of finding out what software is pre-installed for you.
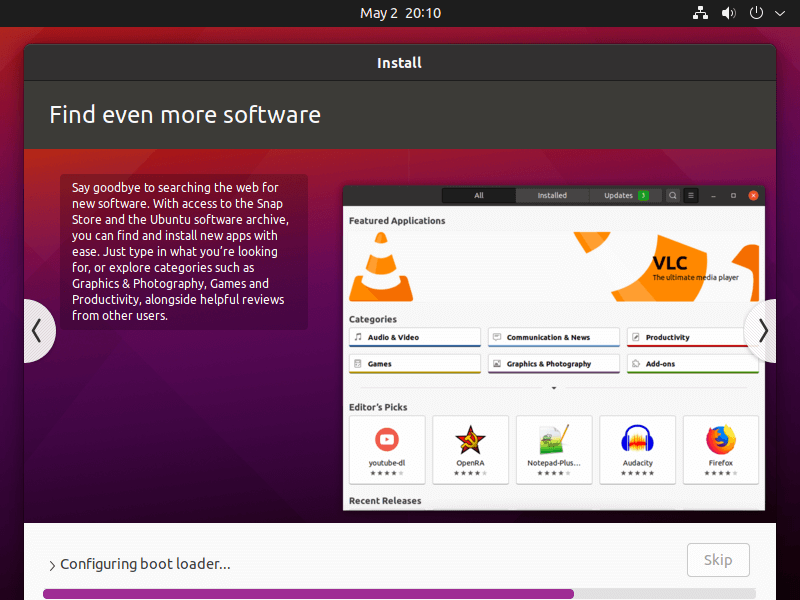
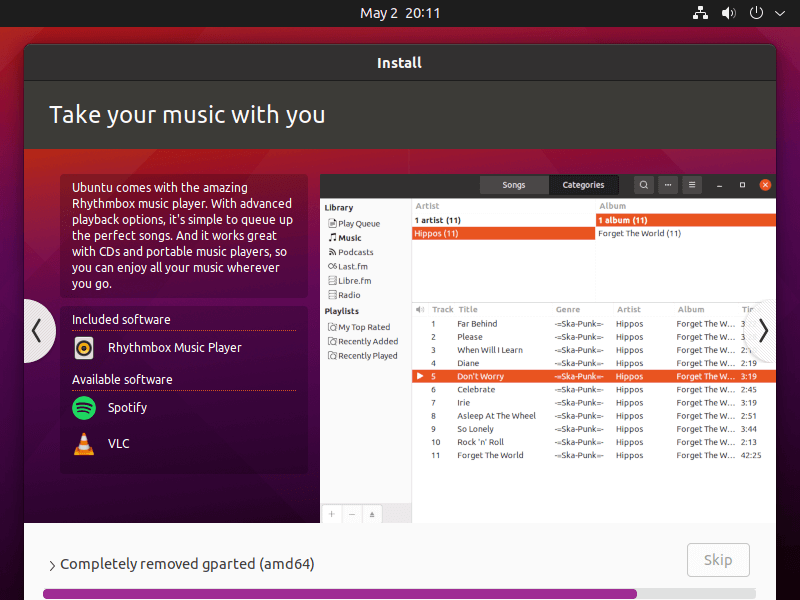
Don’t worry when you see packages being uninstalled. That’s perfectly normal.
Step 9 – Installation complete
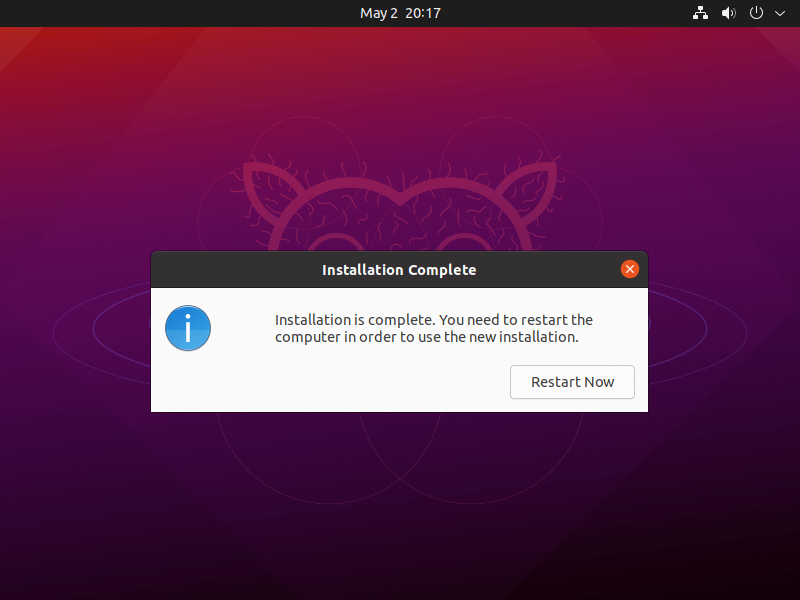
We’ve completed the installation of Ubuntu. All we need to do is remove the USB stick and click the “Restart Now” button
Pages in this article:
Page 1 – Setup computer
Page 2 – More configuration and installing software
Page 3 – First boot
All articles in this series:

Thanks this is helpful. I’ve been thinking about trying Ubuntu for a few months. I’ve got a spare weekend so I’ll give it a try. I read that it’s important to forget about the Windows way of using the machine.