Last Updated on May 22, 2022
Create a new user with the GUI
If you’re sharing the machine with other people (family members, coworkers etc), you’ll want to create user accounts for each person. While you may wish to share access with other people, there will always be some data that’s private and confidential.
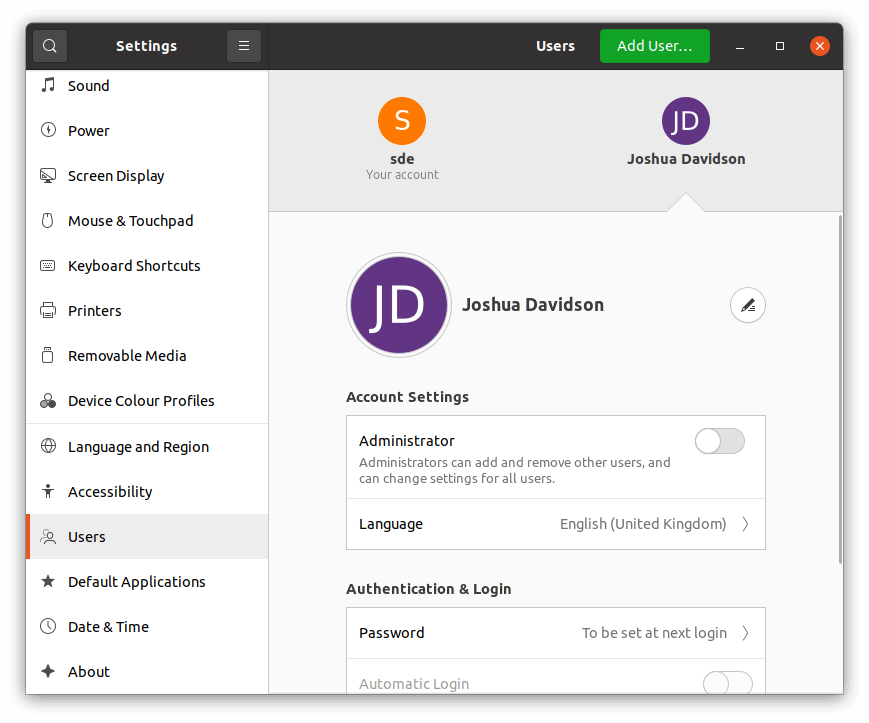
From the Dash open the Settings app, then click on Users in the list. To view more settings or add another user, you’ll need to click the Unlock button in the top right hand corner, and enter your password.
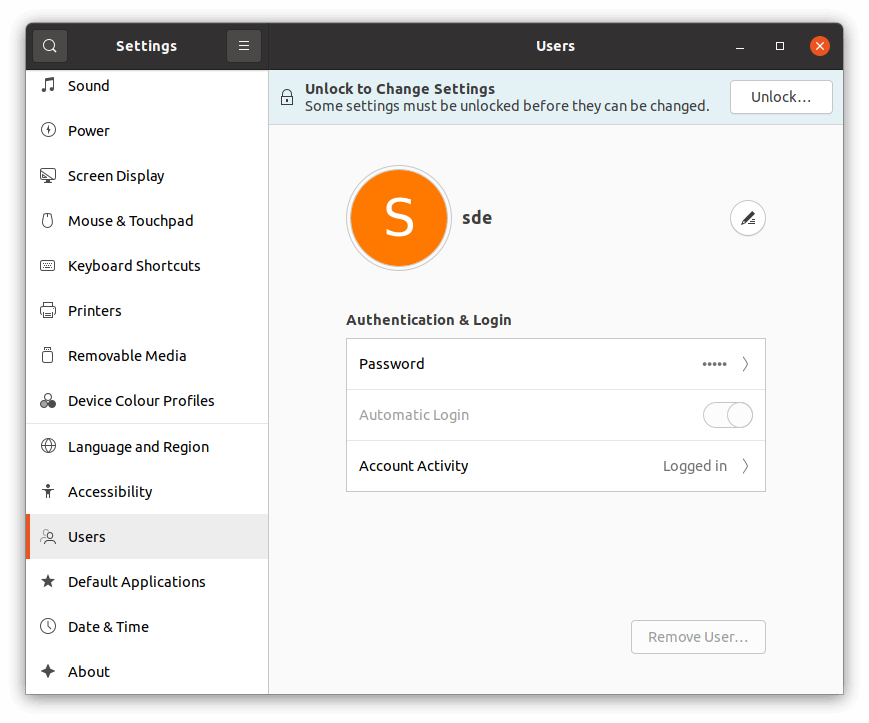
The first account created has Administrator access to the system. This lets you update the system, install apps, and more. To create a new user, click on the Add User button (it’s colored green).
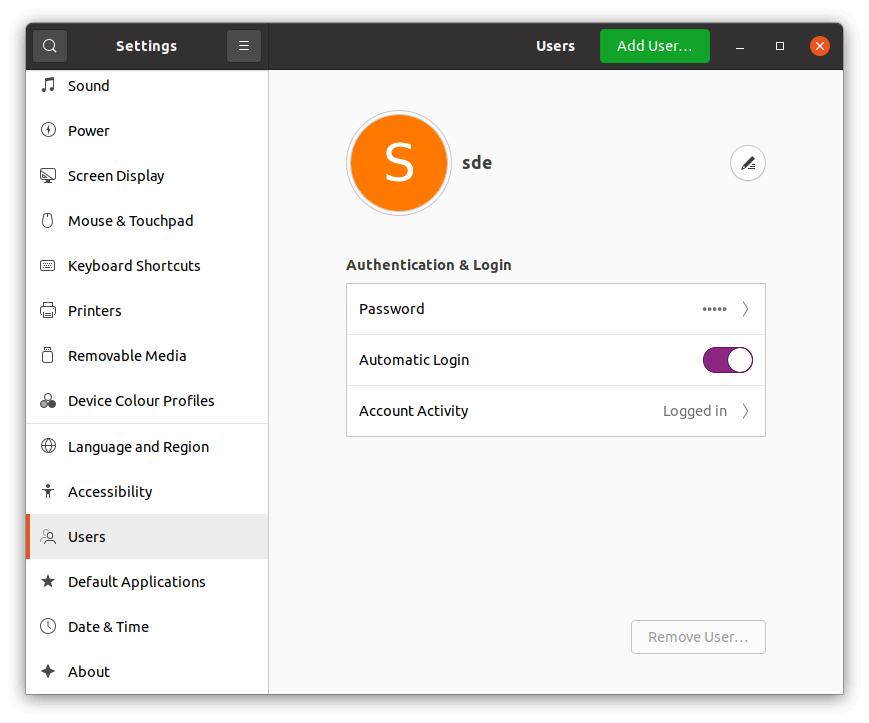
There’s a choice of two Account Types: Standard and Administrator. The Standard account has only limited access while an Administrator account can add/remove other users and can change settings for all users.
Let’s create a Standard account. Enter the full name of the user, and choose whether to allow that user to set a password when they next log on, or set a password for them now.
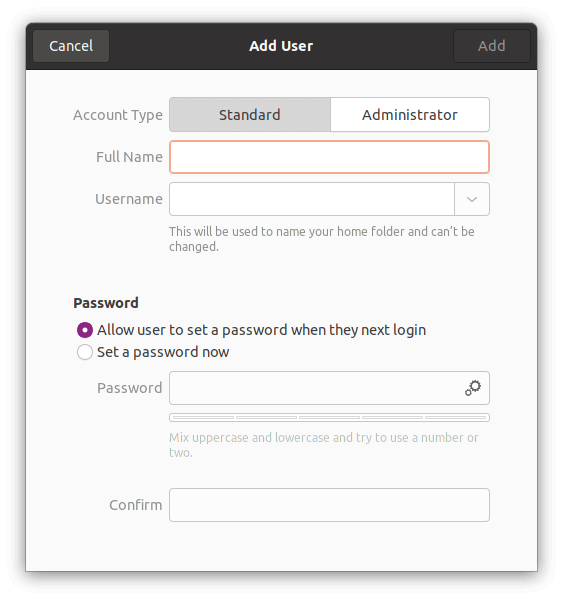
Click the Add button when you have entered the information.
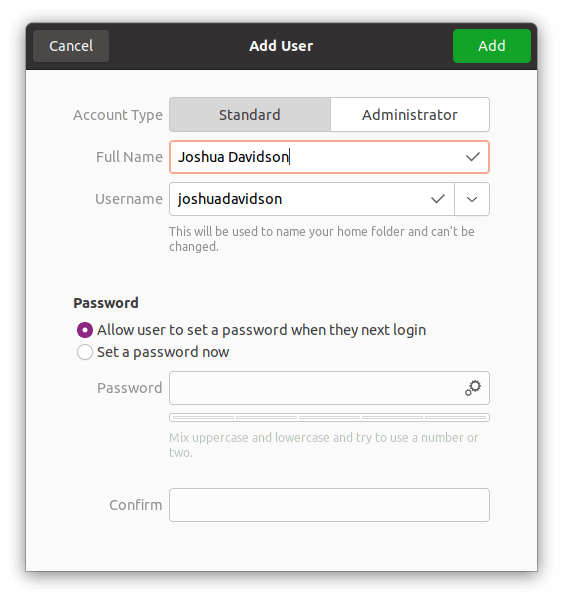
You’ll now see there are two accounts on the system.
Page 3 – Create a new user with the command-line
Pages in this article:
Page 1 – Groups
Page 2 – Create a new user with the GUI
Page 3 – Create a new user with the command-line
All articles in this series:
