Last Updated on May 5, 2023
In Operation
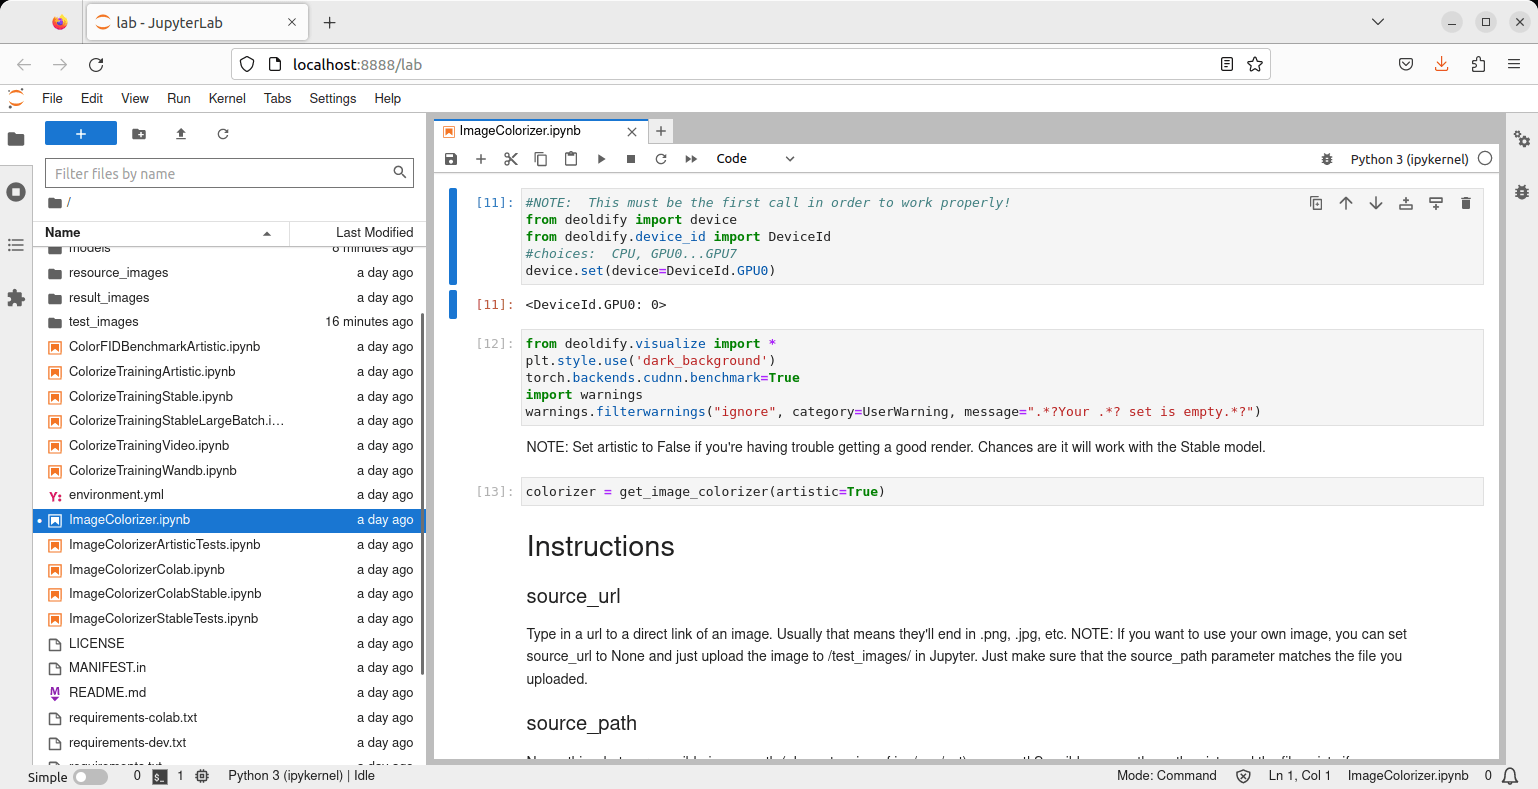
To start DeOldify, issue the command:
$ jupyter lab
Your web browser jumps to http://localhost:8888/lab
You’ll see output like this:

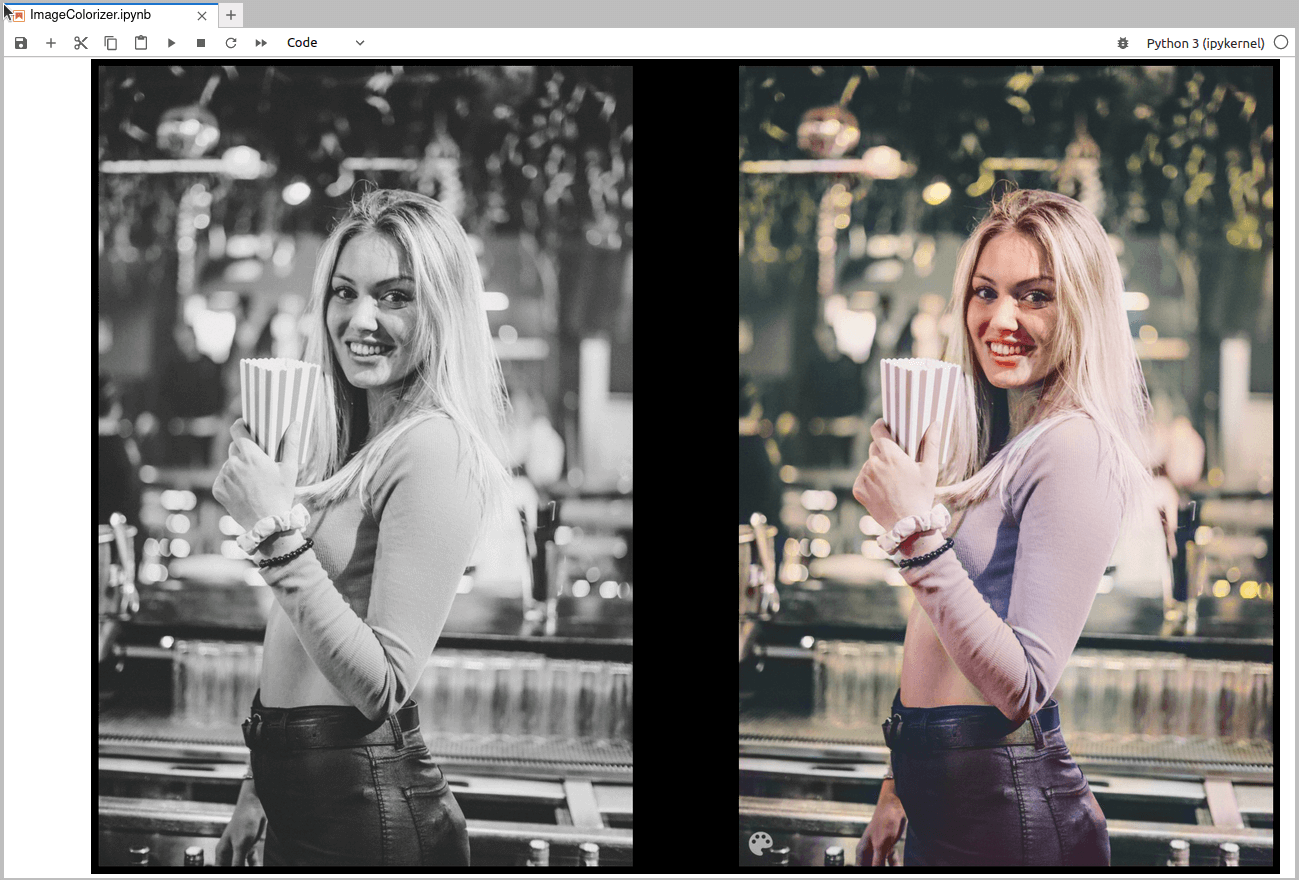
Open the ImageColorizer.ipynb notebook. The notebook contains instructions on how to tailor and run the workbook. For example, it’s easy to colorize local files with a simple edit. Once you’ve edited the notebook, click Run / Run all cells. The notebook shows you the colorized image, together with the black & white image next to the colorized image. An example is shown below.

Summary
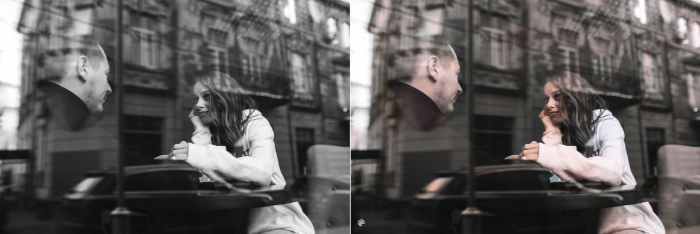
DeOldify offers an easy way to colorize images although the results are far from perfect with colors sometimes differing substantially from the original colors.
You can specify URLs or point to local files. It’s easy to use although you’ll need a little experience using Jupyter Notebook but no knowledge of Python is required.
The software offers three models: Artistic, Stable, and Video. The first two models are for images. The artistic model provides the highest quality results in image coloration, in terms of interesting details and vibrancy. The stable model produces better output with landscapes and portraits. The final model, Video, is optimized for smooth, consistent and flicker-free video.
We’ve been hunting for a Linux GUI that uses DeOldify as its backend but we’ve drawn a blank. If you know any open source software using DeOldify, please let us know.
Website: deoldify.ai
Support: GitHub Code Repository
Developer: Jason Antic
License: MIT License
![]() For other useful open source apps that use machine learning/deep learning, we’ve compiled this roundup.
For other useful open source apps that use machine learning/deep learning, we’ve compiled this roundup.
DeOldify is written in Python. Learn Python with our recommended free books and free tutorials.
Pages in this article:
Page 1 – Introduction and Installation
Page 2 – In Operation and Summary
