There are two ways of setting up containers in Container Manager. The first way is courtesy of Docker Compose, a tool for defining and running multi-container Docker applications. With Compose, you use a YAML file to configure your application’s services. This is the recommended method with Synology’s hardware. I’ll briefly explore the other method on the last page of this article.
It’s good practice to create a new folder on the NAS for every single project or container. That folder is really important as it is the home for the Docker container config, and all the other files used by the container. When you update to a new version of the container, you won’t lose your config.
Create Folder(s)
In File Station, I’ve created a folder for the project in /volume1/docker. As I’m going to be running PhotoPrism in a container, I’ve given the folder the name photoprism. Sometimes applications need other folders set up. For PhotoPrism, it needs two sub-folders called storage and database. The storage folder is used to save config, cache, thumbnail, and sidecar files. Here’s how the folders look in File Station.

Start up Container Manager and go to the Registry tab. This tab shows all the images you can download. I’ve entered photo in the search field and double-clicked the entry photoprism/photoprism. The tags are different images of PhotoPrism. Normally, you’ll want the tag marked latest unless you have a custom CPU, and this is what I’ll choose.

Click Apply and the image is downloaded. Images you download are shown in the Image tab.
Create Project
I next need to create a new Project, so I head to the Project tab and click Create.
I’ve entered the following details and have pasted the example Docker Compose config file written by the developers of PhotoPrism (https://dl.photoprism.app/docker/docker-compose.yml) in the box below Source:
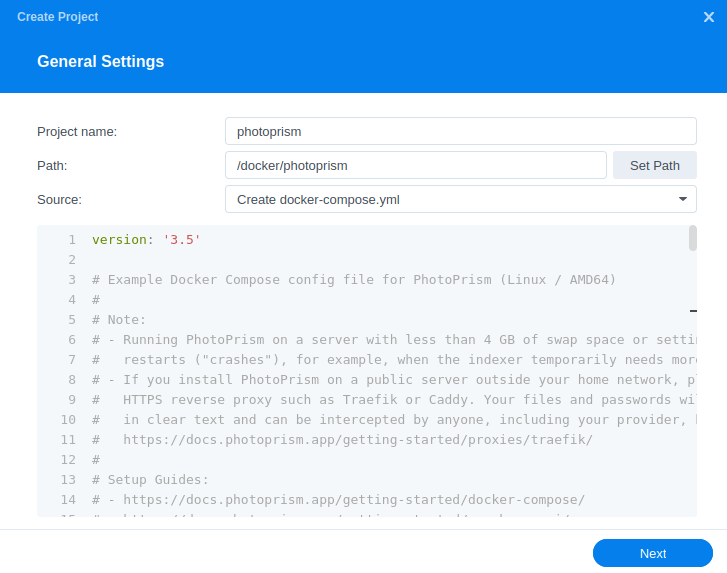
Many software developers provide an example Docker Compose YAML config file for their application. This will always need some line changes. You’ll need to consult a program’s documentation to understand what changes to make.
In the case of PhotoPrism, I must change the volumes entry, as the location needs to be where my pictures are stored on the local NAS (which is /volume1/backup1/Pictures, not ~/Pictures). The volumes entry is important because you want to persist data. Otherwise, your data is lost after recreating the container.
So I change the line in the YAML file from:
volumes:
      - "~/Pictures:/photoprism/originals"
to:
volumes:
       - "/volume1/backup1/Pictures:/photoprism/originals"
When you’re happy with the YAML file, click Next, Next, and Done.
Now the build is carried out whereby the extracting, downloading and verification process takes place.
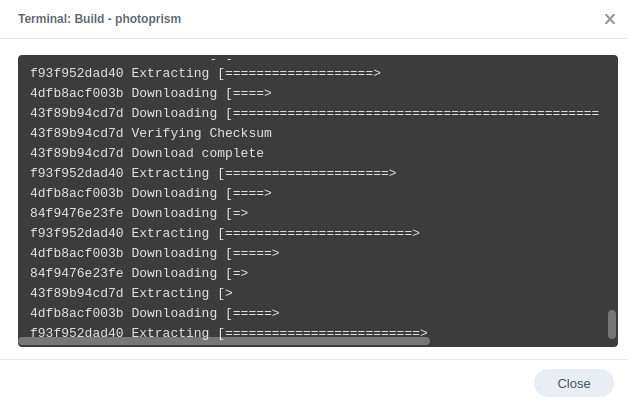
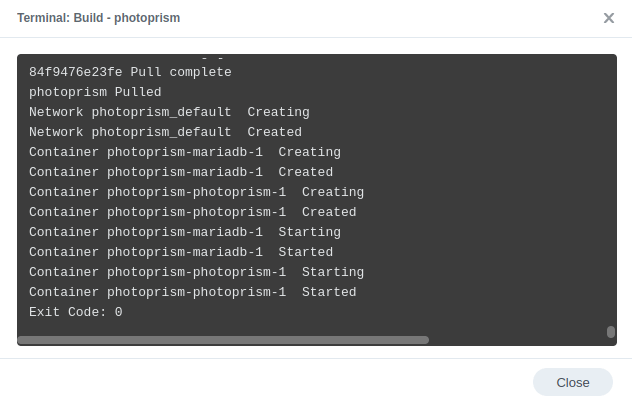
This process creates containers for PhotoPrism as well as MariaDB (the database software that PhotoPrism uses). The image below shows the completion of the build. The Exit Code: 0 means that it was successfully run.
We can verify the PhotoPrism and MariaDB containers are running by going to the Container tab. The status icon for each container is green.

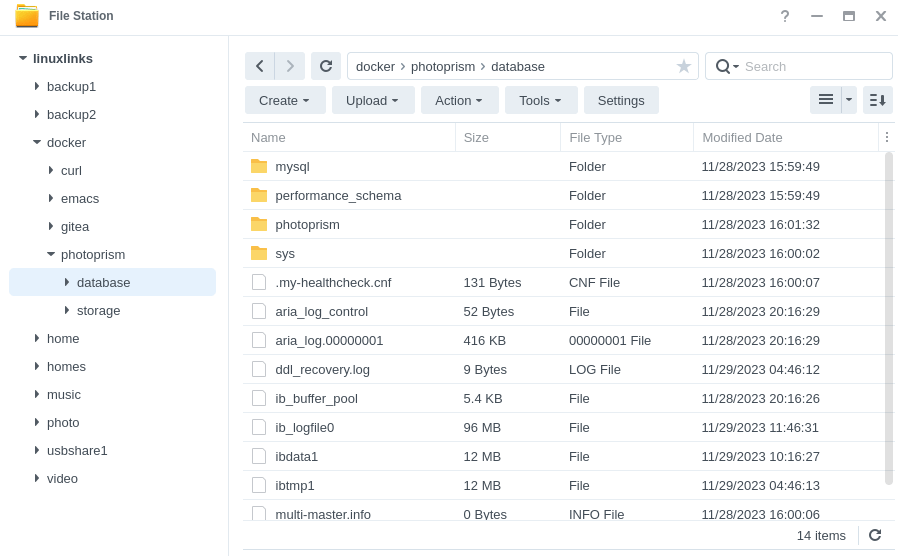
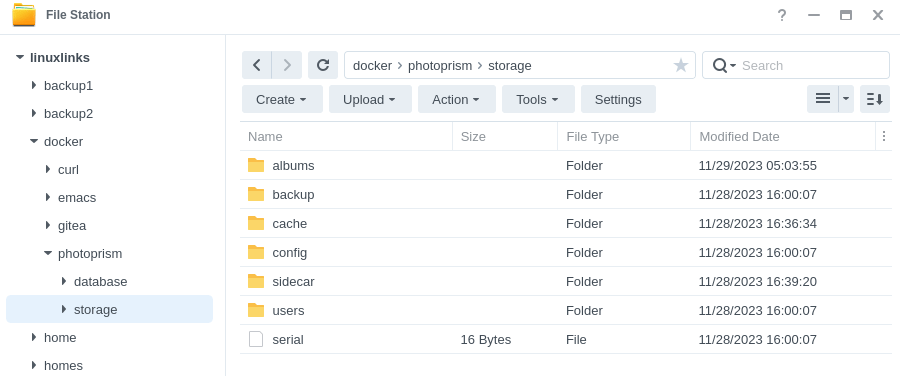
Remember the two sub-folders I created: database and storage. The images below show the files that have been added.
Next page: Page 3 – Running PhotoPrism on the NAS
Pages in this article:
Page 1 – Install Container Manager
Page 2 – Create Project (with PhotoPrism as example)
Page 3 – Running PhotoPrism on the NAS
Page 4 – Alternative way to set up a container
All articles in this series:
| Synology DSM | |
|---|---|
| DSM | Review of DiskStation Manager 7.2.1 |
| Container Manager | Container Manager for Beginners |
| Hyper Backup | This is a tutorial showing you how to use Hyper Backup |
| Hyper Backup Explorer | Desktop tool for browsing, decrypting, and extracting backup data |

Hi Steve, I tried to install photoprism on my synology nas as you described. But my database folder is still empty and photoprism-mariadb-1 restarts with an error. What did I missed?
I suggest you contact Synology or PhotoPrism as I no longer use their NAS.
Oh, I’m having exactly the same issue, the Maria-DB keeps restarting and giving an error 🙁