DreamQuest Mini PCs with Intel N95 and N100 processors come preinstalled with Windows 11 Professional. It’s easy to replace Windows with Linux.
What you’ll learn
This tutorial guides you through the steps required to install Ubuntu Desktop on a DreamQuest Mini PC. Ubuntu Desktop is one of the many hundreds of actively maintained Linux distributions.
This is a 3 page guide. The first page explains how to create a bootable USB stick for Ubuntu. The second page deals with installing Ubuntu Desktop 24.04 to the PC. And the third page covers some post-installation steps.
What you’ll need
- A DreamQuest Mini PC (a lot of the information here is relevant for other PCs).
- A flash drive (8GB or above is recommended) with internet connection, for downloading the Ubuntu ISO image.
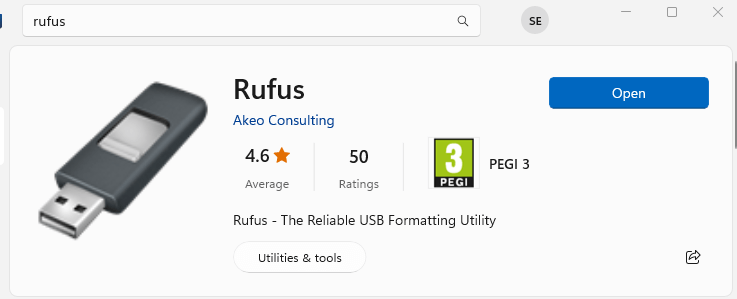
- Software to write the Ubuntu ISO to a USB stick. We’ll use Rufus.
If you are installing Ubuntu on the DreamQuest Mini PC you have used previously, you must back up your data prior to installation.
Step 1: Download Ubuntu 24.04 ISO image
Download the Ubuntu 24.04 Desktop ISO here. Save the file to your local hard drive. It’s a 5.7 GB file so it will take a few minutes (or longer) to download.
Step 2: Create a Bootable USB stick
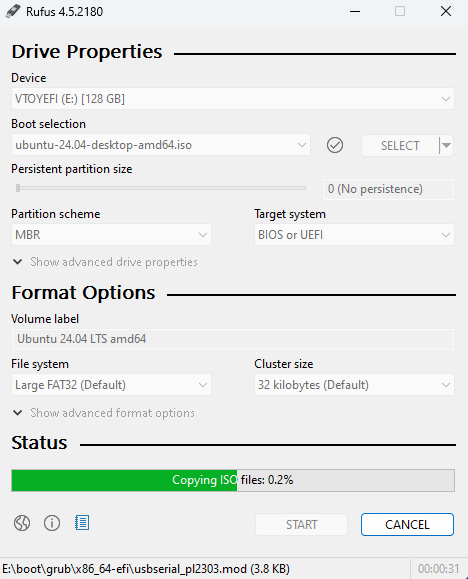
To install Ubuntu Desktop, you need to write the downloaded ISO image to a USB stick to create the installation media. This is not the same as simply copying the ISO to the USB stick. You need to use dedicated software. We’ll use Rufus which is free to download from the Microsoft store.
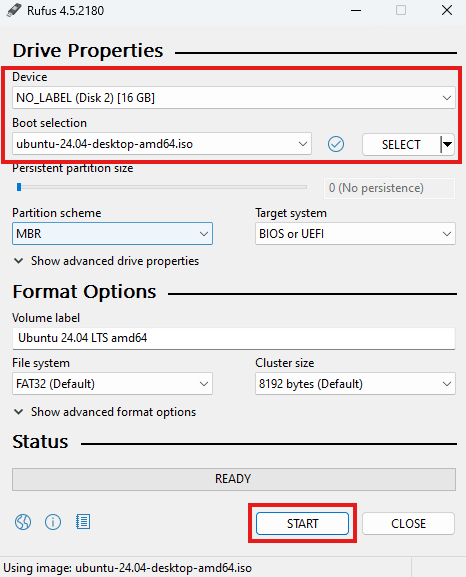
Once Rufus is installed, launch Rufus.
- In Device, select your USB key.
- In Boot selection, click the SELECT dropdown and pick the Ubuntu ISO file you downloaded.
- Click the START button.
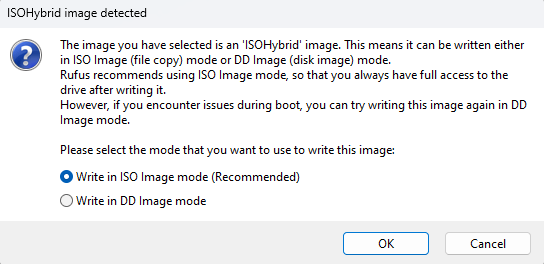
You’ll be notified that an ISOHybrid image has been chosen. Leave the mode as Write in ISO Image mode (Recommended) and press OK.
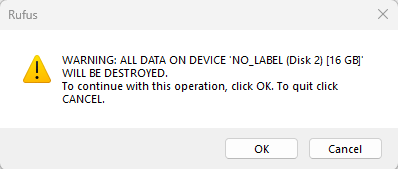
You’ll next see a warning that the USB stick is going to be wiped. Press OK to proceed.
The Ubuntu ISO will now be written to your USB stick.
Step 3: Boot from the USB Stick
Plug in your USB stick.
The easiest way to boot from the USB stick is to enter the BIOS. The DreamQuest mini PC doesn’t need any any permanent changes in the BIOS to install Ubuntu.
Enter the BIOS by pressing the Del key when (re)starting the DreamQuest mini PC.
Navigate to the Save & Exit menu, and select the USB key.
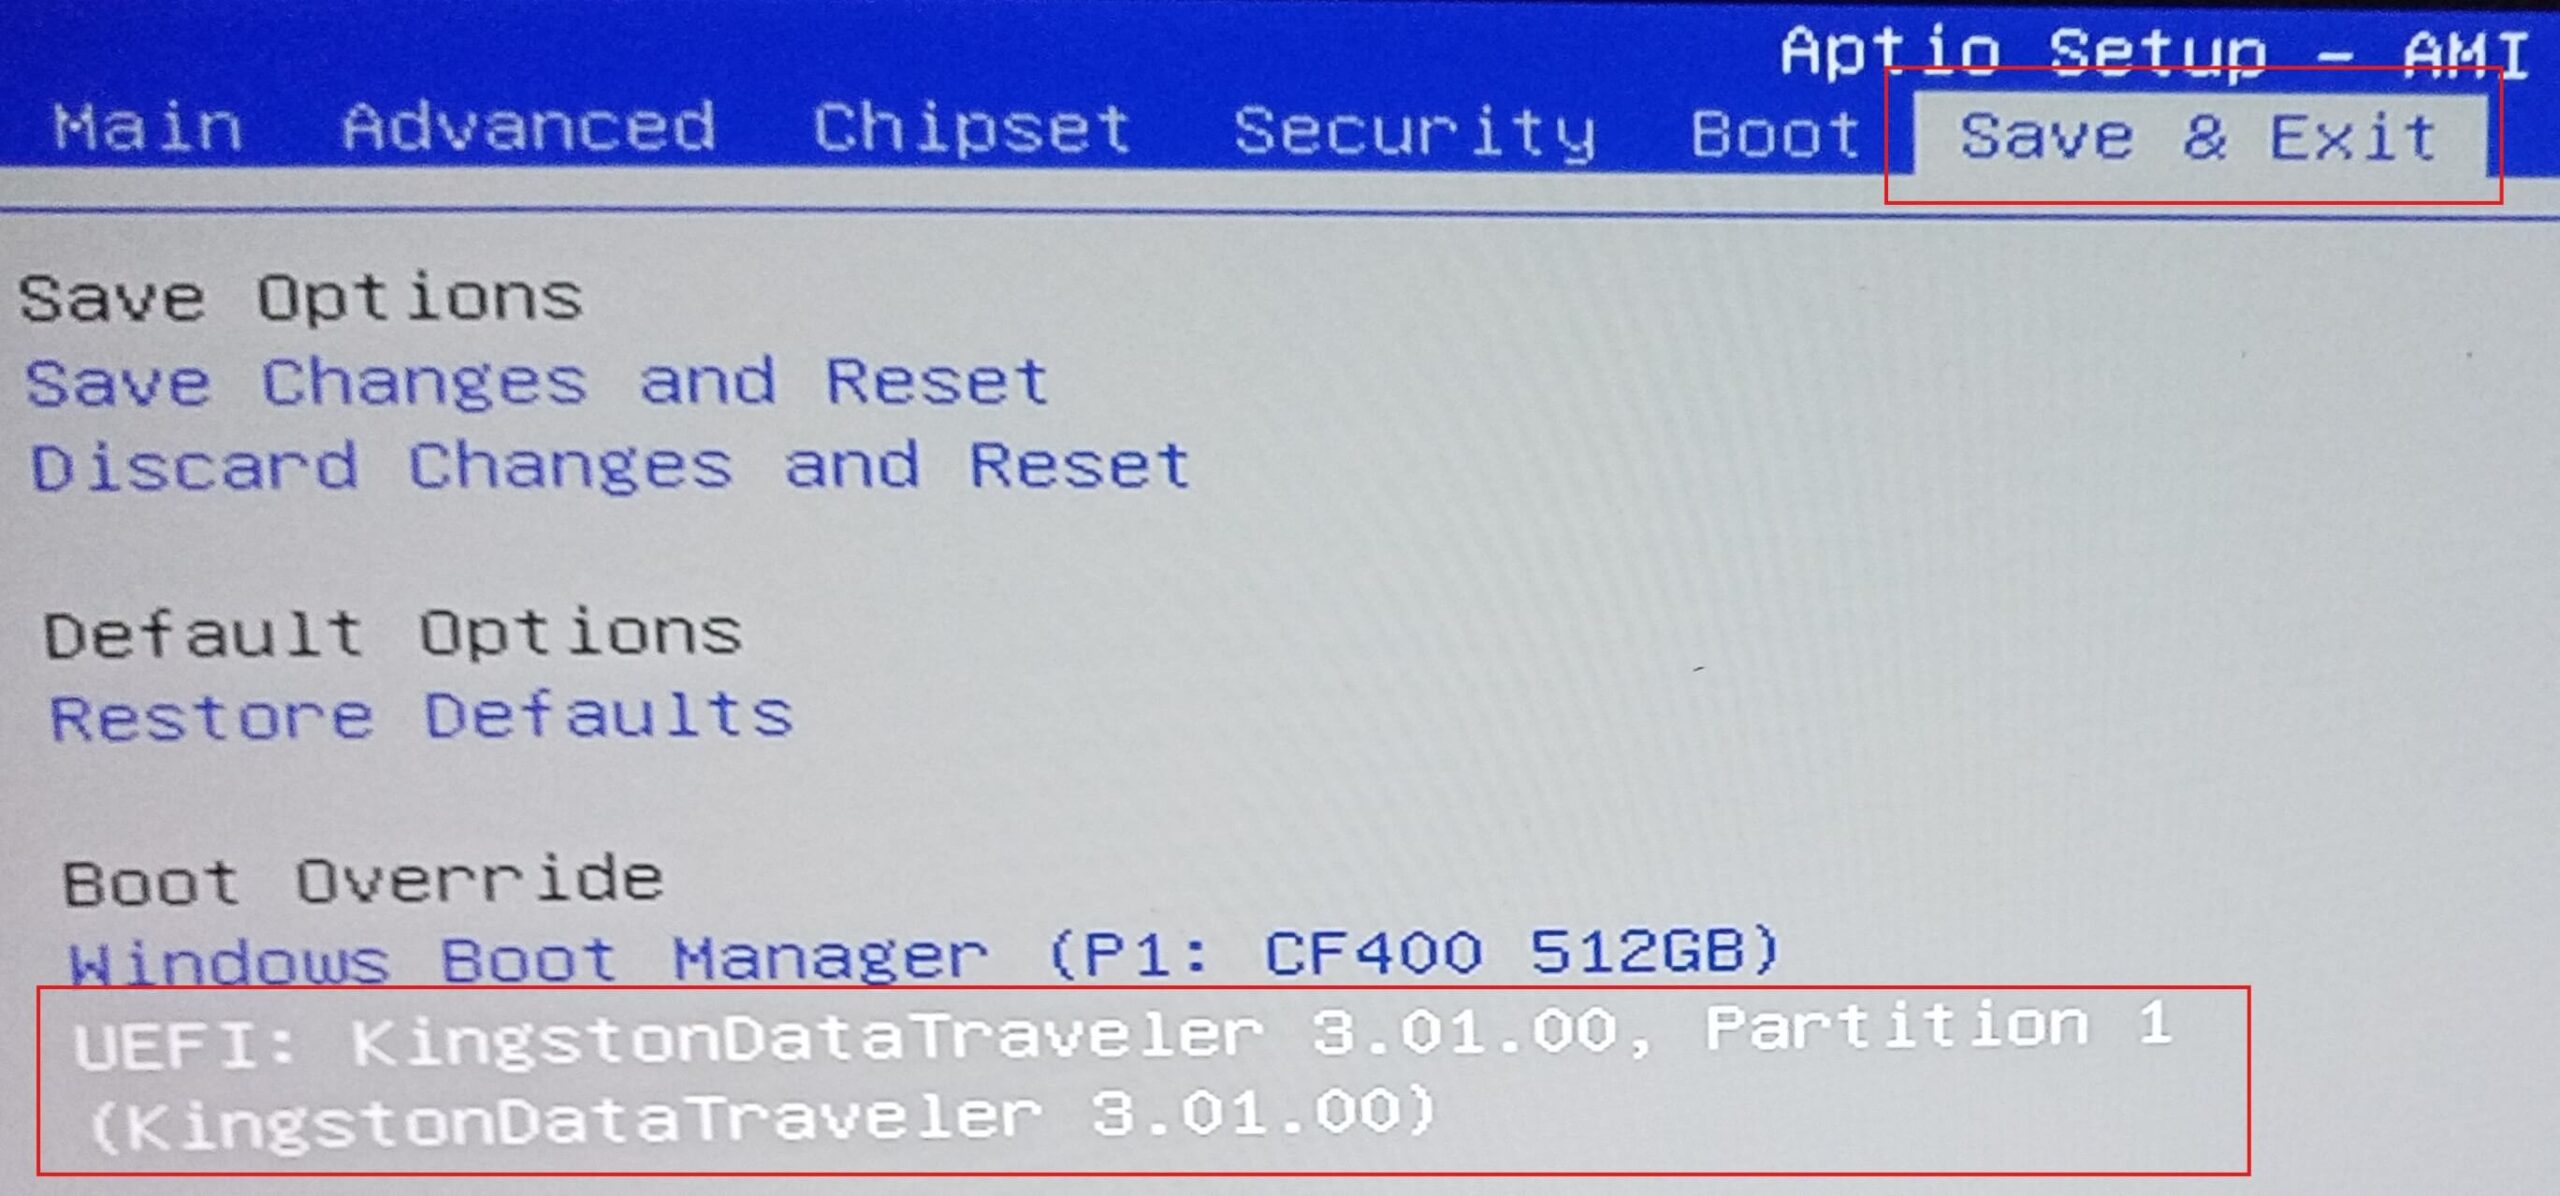
Press the Enter key. The machine will now boot into the Ubuntu live image with the USB stick.
On the next page we’ll guide you through installing Ubuntu on your SSD.
Next page: Page 2 – Install Ubuntu Desktop 24.04
Pages in this article:
Page 1 – Create a Bootable USB stick for Ubuntu Desktop 24.04
Page 2 – Install Ubuntu Desktop 24.04
Page 3 – Post-installation Steps
I’ve heard that many mini-pcs, notably from China, come with built-in malware for Windows. Erasing to Linux would solve that problem. Except now the word is the BIOS can be bugged. How can you determine if the BIOS has been bugged?
Your comment has nothing to do with the article.
The (very remote) possibility of a nefarious BIOS is not anything new. There were isolated incidents in the 1990s and maybe earlier.
“heard” — vague; from whom?
“many” mini-pcs — how many?
Can you install Ubuntu 20.04 on this mini PC?
Yes, Ubuntu 20.04 runs fine on the mini PC.
My DreamQuest Pro mini PC does not have a USB option under “Boot Override”.
It ONLY has:
UEFI OS (P1: KingFast)
Plug in the USB drive before entering the BIOS and an entry will appear.