Appendix
To get started using SMB, follow these steps on your desktop Linux machine. You’ll need to substitute sde with your username.
- Create an empty directory to be used as the mount point on your desktop PC. For example, to create a mount point
/mnt/nas, type$ sudo mkdir /mnt/nas - Now give myself access to that mount point:
$ chmod sde /mnt/nas$ chgrp sde /mnt/nas
- Create a .smbcredentials file in your home directory. Let’s use the nano text editor, but any text editor can be used.
$ nano ~/.smbcredentials
- Add the necessary credentials to the file and save the file. For example, my credentials are:
user=sde
password=NAS password - To protect my NAS password, set the file permission of .smbcredentials to 600. This ensures only the owner (me) has read and write access:
$ chmod 600 .smbcredentials
- To automount the share using the credentials file, use nano to add an additional line to /etc/fstab. Here’s an example:
//192.168.1.233/backup1 /mnt/nas cifs credentials=/home/sde/.smbcredentials,uid=sde,gid=sde 0 0
192.168.1.233 is my local IP address for the NAS device.
Pages in this article:
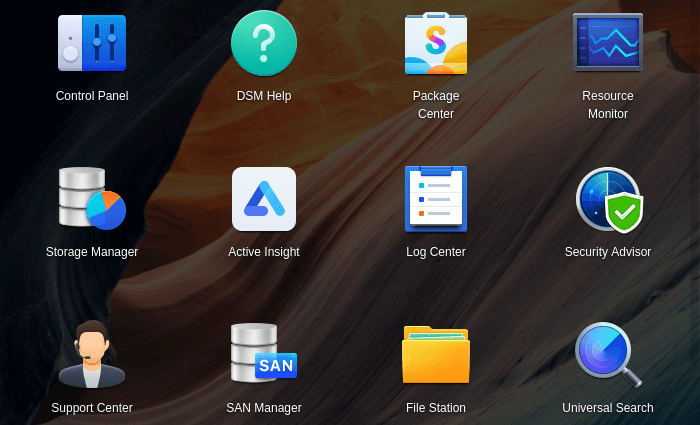
Page 1 – DSM Interface
Page 2 – File Station
Page 3 – Package Center
Page 4 – Control Panel
Page 5 – Storage Manager
Page 6 – Security Advisor
Page 7 – Summary
Page 8 – Appendix: Access the NAS using SMB on your local Linux machine
All articles in this series:
| Synology DSM | |
|---|---|
| DSM | Review of DiskStation Manager 7.2.1 |
| Container Manager | Container Manager for Beginners |
| Hyper Backup | This is a tutorial showing you how to use Hyper Backup |
| Hyper Backup Explorer | Desktop tool for browsing, decrypting, and extracting backup data |